
Windows server 2016 was released for public (GA) on mid oct 2016. Its exciting time as businesses are already working on migrating their services in to new windows server 2016 infrastructures. In this post, I am going to explain how you can migrate from active directory running on windows server 2012 R2 to windows server 2016 active directory. The same steps are valid for migrating from windows server 2012, windows server 2008 R2 and windows server 2008.
In my demo setup, I have a windows server 2012 R2 domain controller as PDC. I setup windows server 2016 and already added to the existing domain.
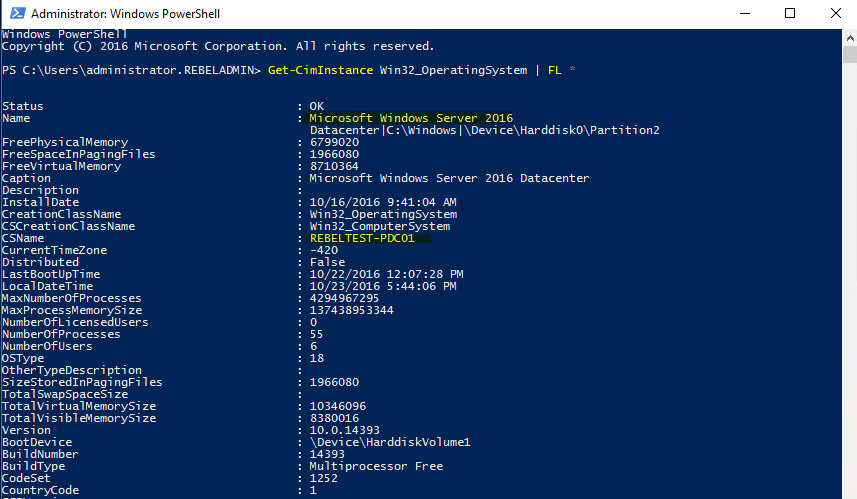
Current domain and forest functional level of the domain is windows server 2012 R2.
So, let’s start with the migrate process.
Install Active Directory on windows server 2016
1. Log in to windows server 2016 as domain administrator or enterprise administrator
2. Check the IP address details and put the local host IP address as the primary DNS and another AD server as secondary DNS. This is because after active directory install, server itself will act as DNS server
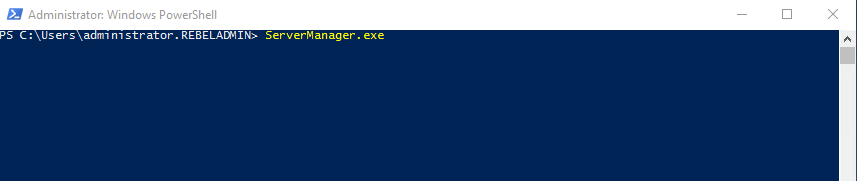
3. Run servermanager.exe form PowerShell to open server manager (there is many ways to open it)
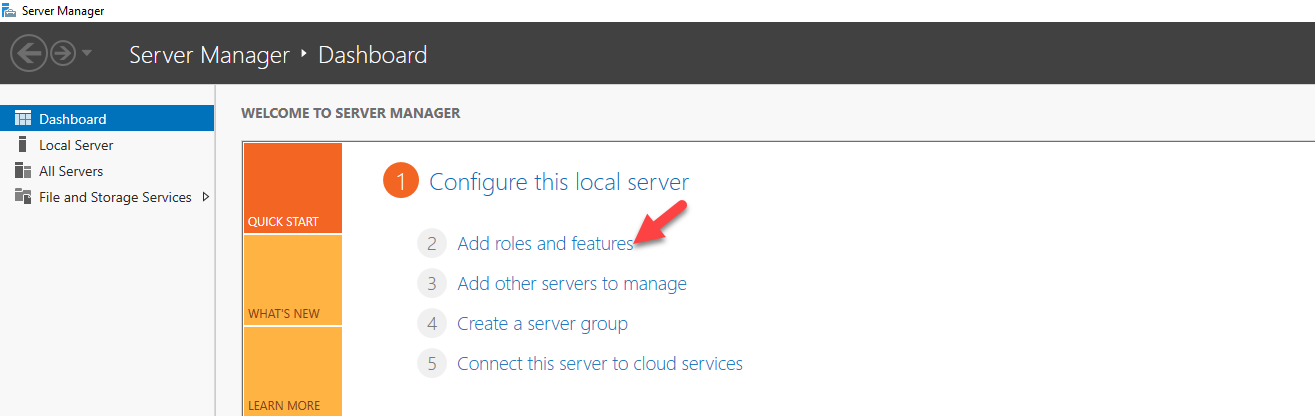
4. Then click on Add Roles and Features
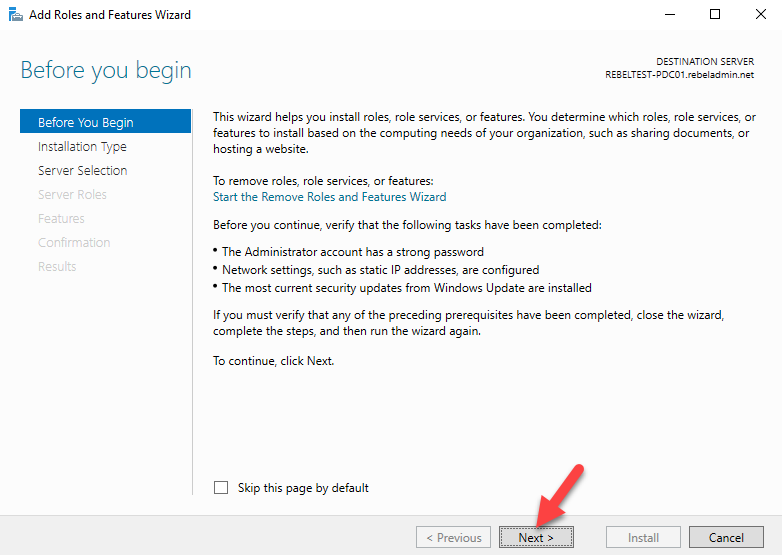
5. It will open up the wizard, click next to continue
6. In next window keep the default and click next
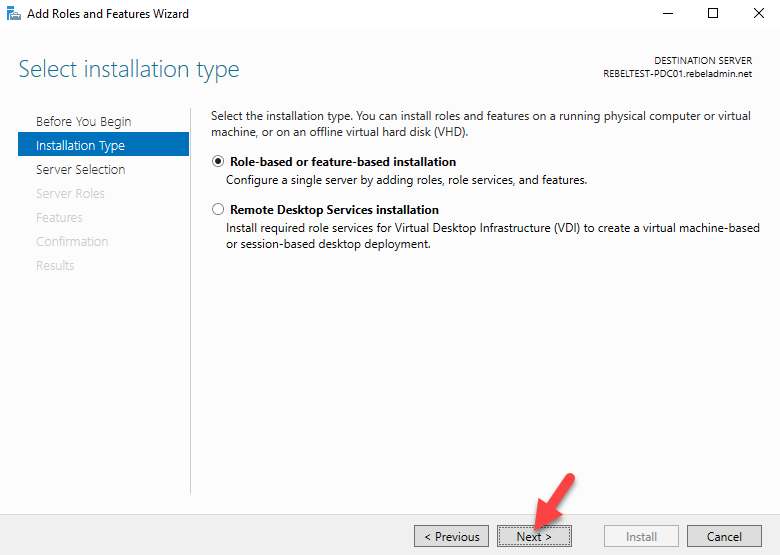
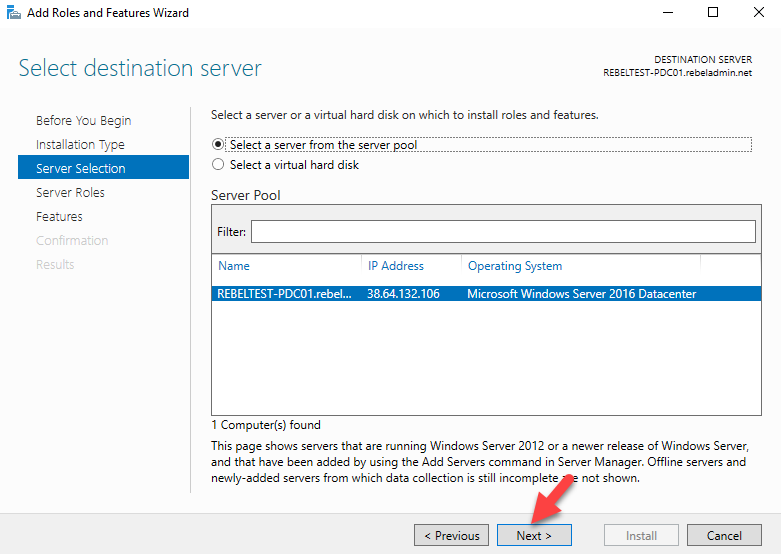
7. Roles will be installed on same server, so leave the default selection and click next to continue
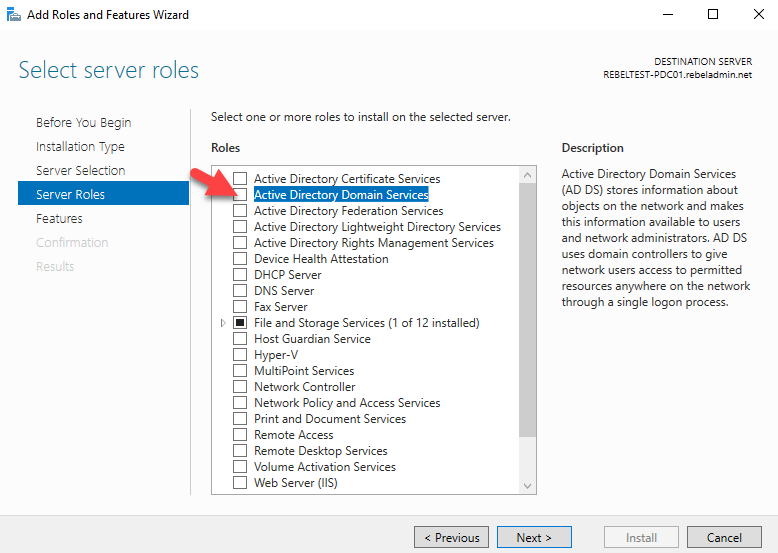
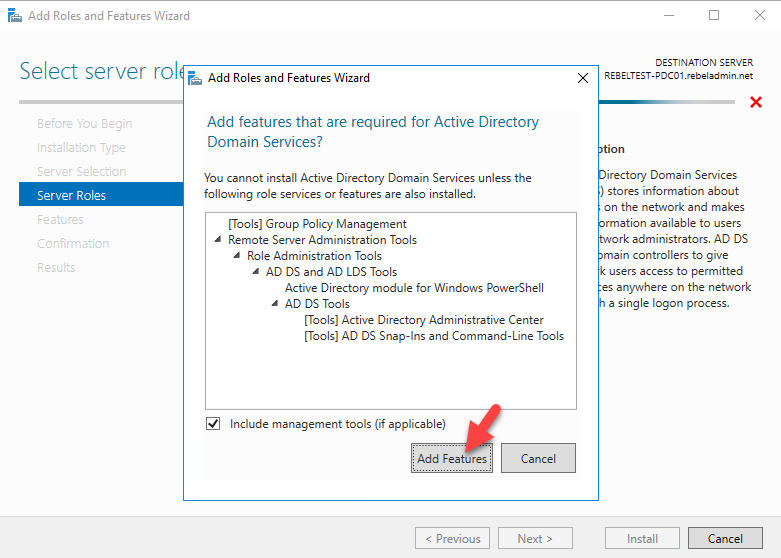
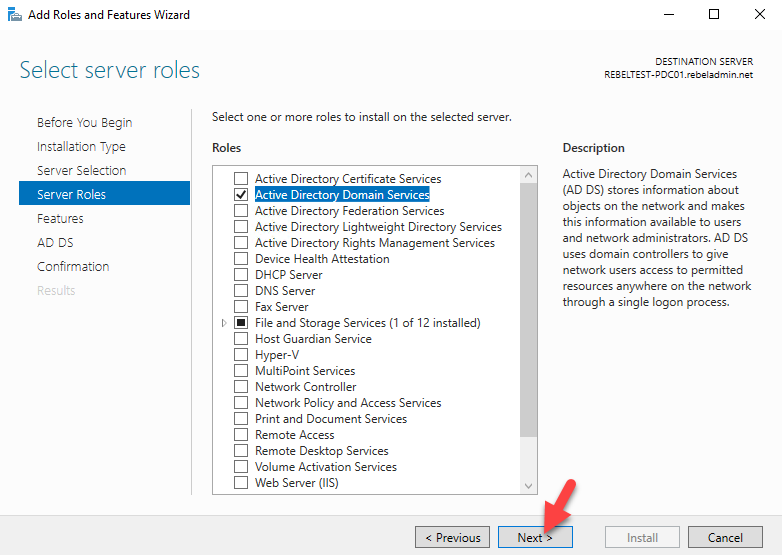
8. Under the server roles tick on Active Directory Domain Services, then it will prompt with the features needs for the role. Click on add features. Then click next to proceed
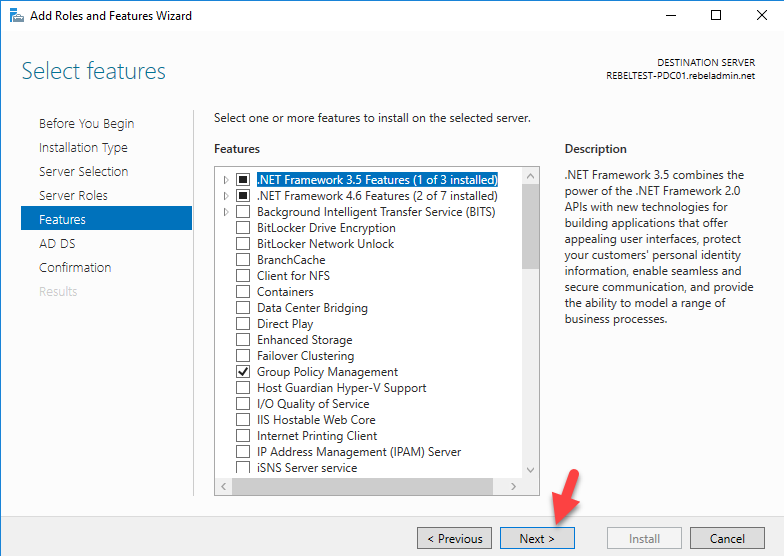
9. On the features windows keep the default and click next
10. In next window, it will give brief description about active directory DS, click next to proceed

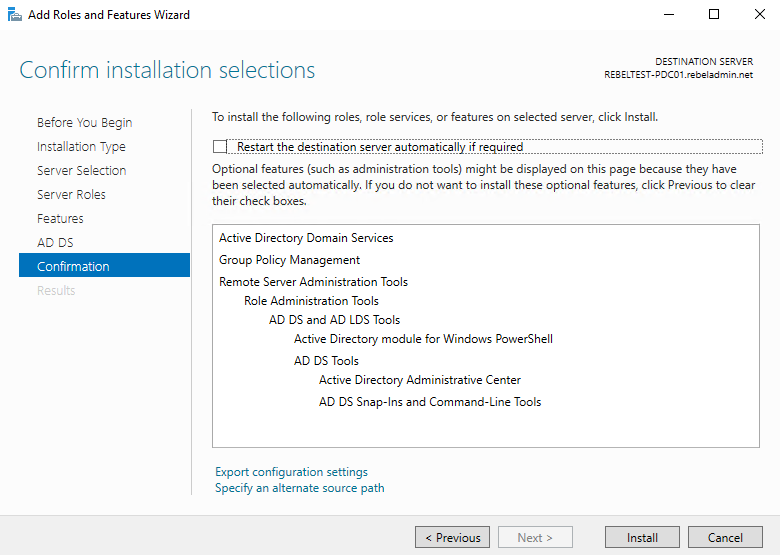
11. Then in next window it will give brief description about configuration and click on install to start the role installation process.
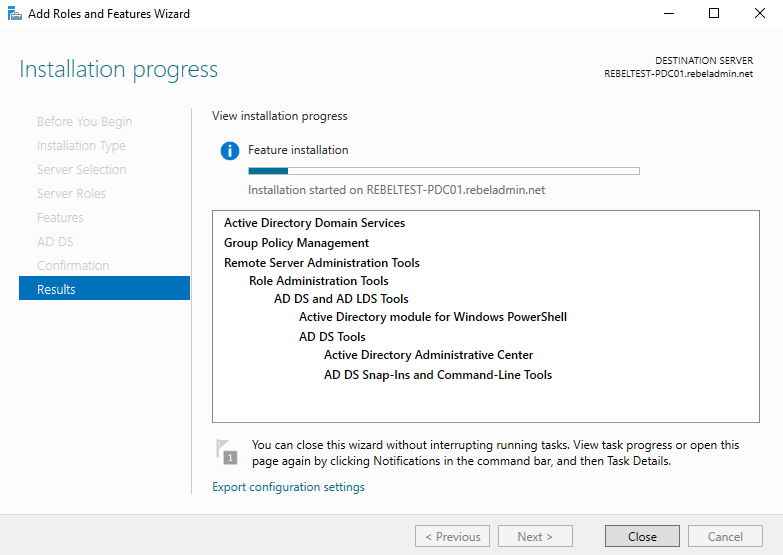
12. Once installation completed, click on promote this server to a domain controller option

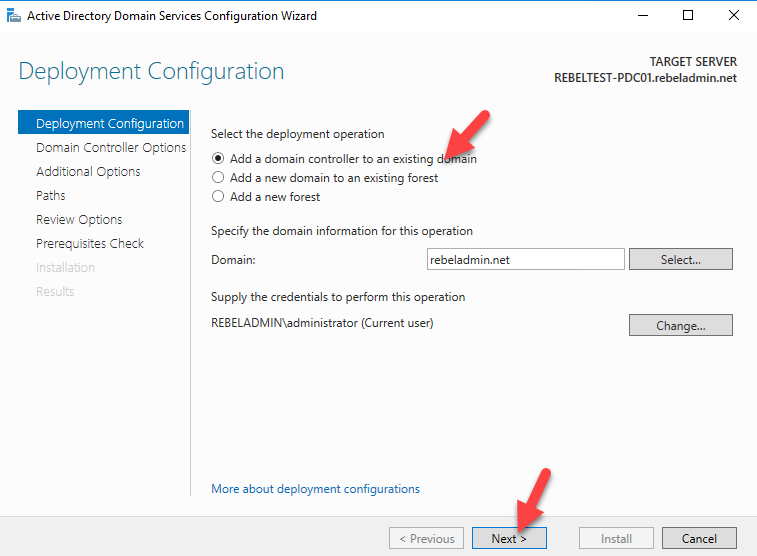
13. It will open up the Active Directory Domain Service configuration wizard, leave the option Add a domain controller to existing domain selected and click next.
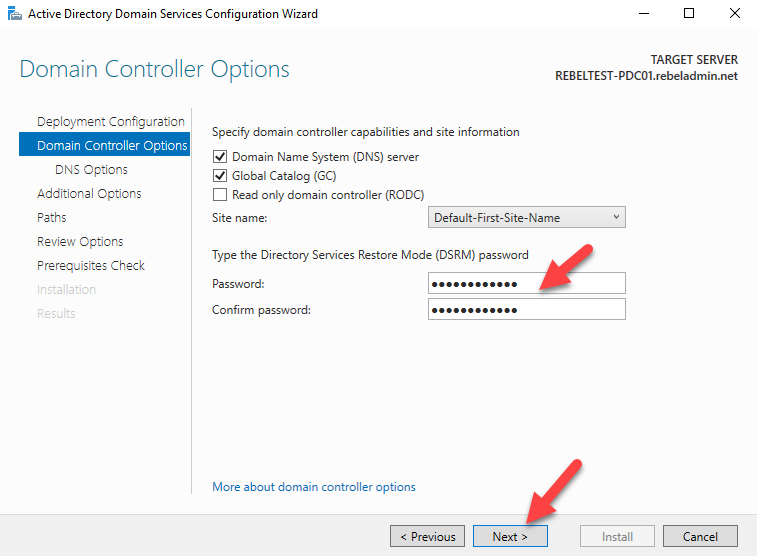
14. In next window define a DSRM password and click next
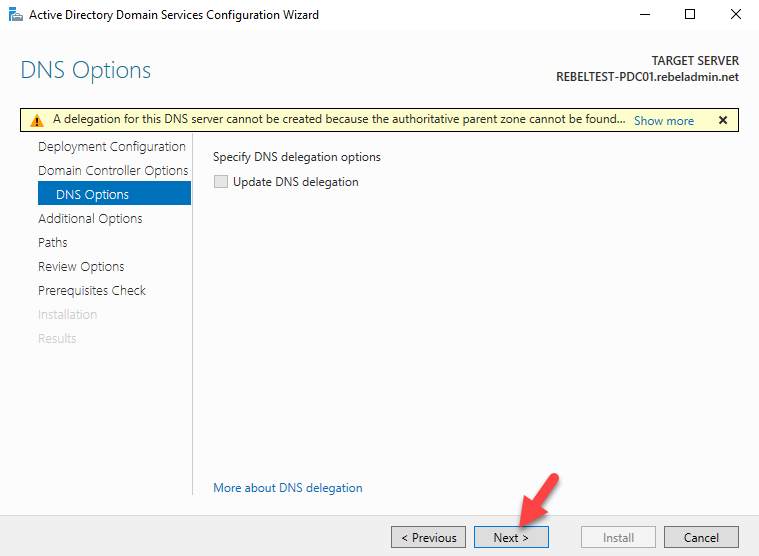
15. In next window click on next to proceed
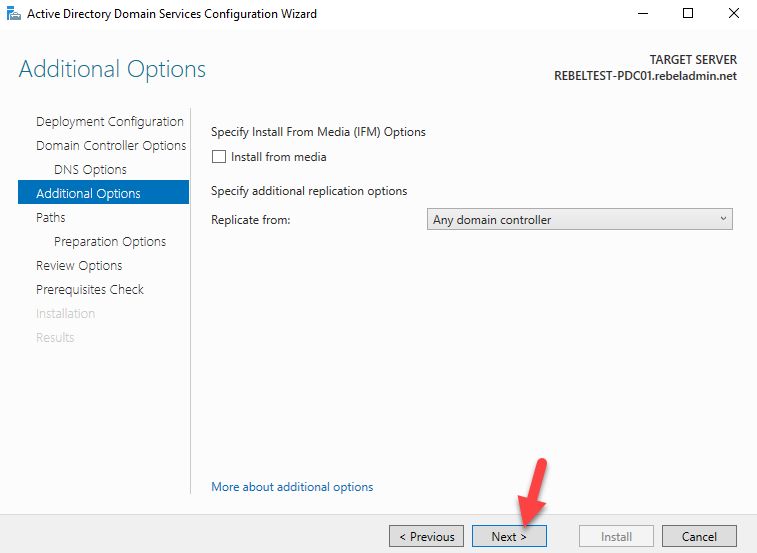
16. In next windows, it asks from where to replicate domain information. You can select the specific server or leave it default. Once done click next to proceed.
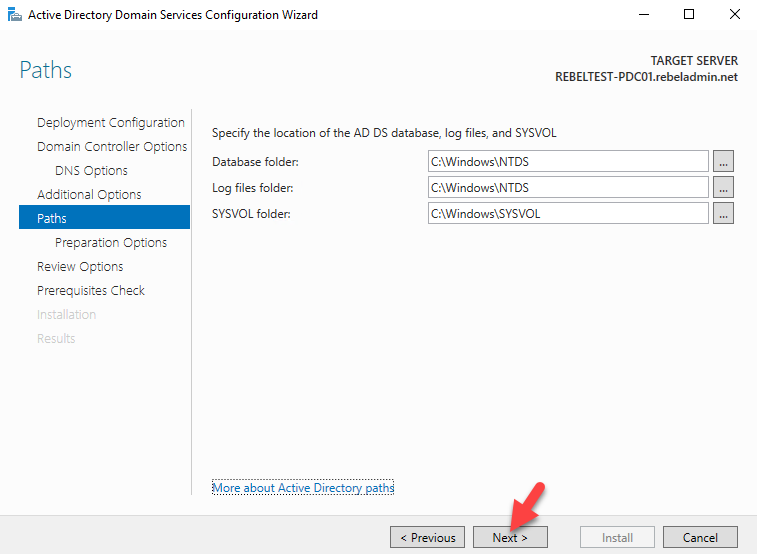
17. Then it shows the paths for active directory DS database, log files and SYSVOL folder. You can change the paths or leave default. In demo, I will keep default and click next to continue
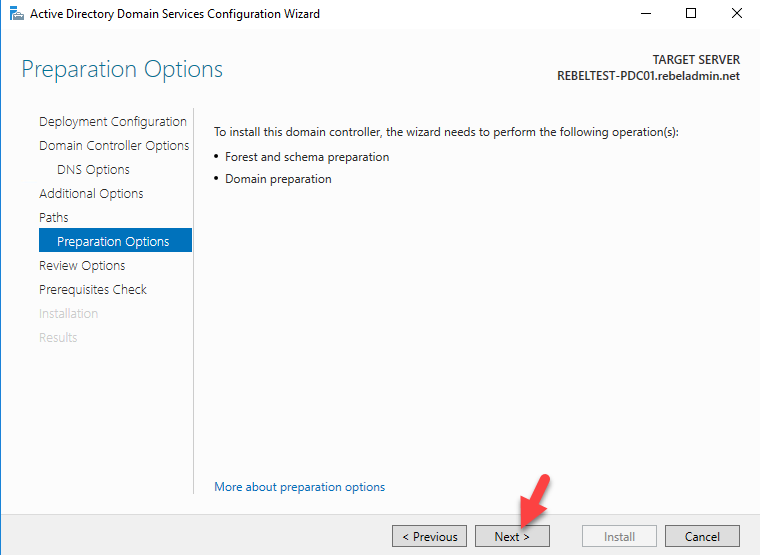
18. In next windows, it will explain about preparation options. Since this is first windows server 2016 active directory on the domain it will run forest and domain preparation task as part of the configuration process. Click next to proceed.
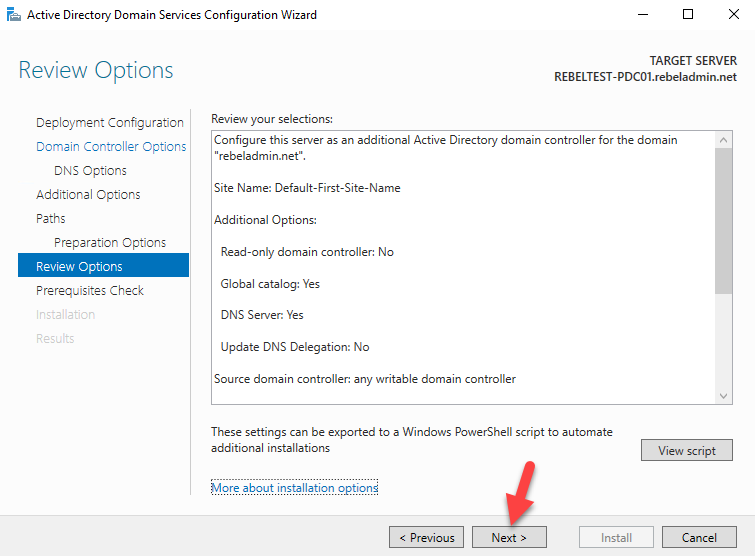
19. In next window, it will list down the options we selected. Click next to proceed.
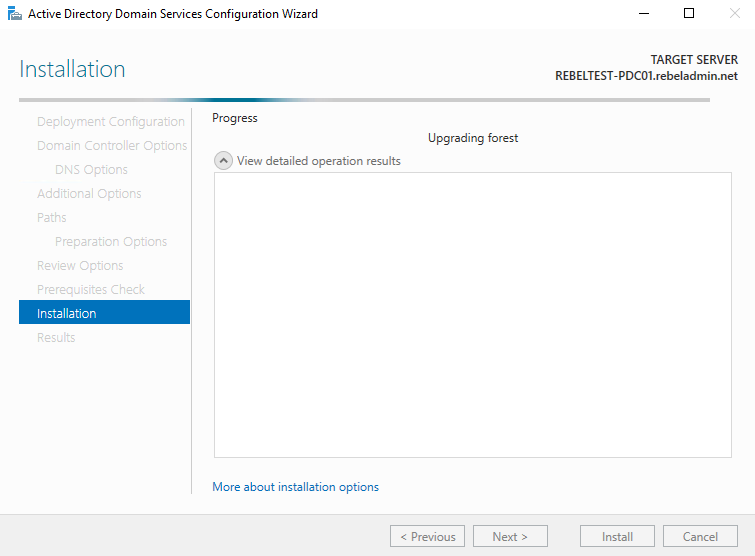
20. Then it will run prerequisite check, if all good click on install to start the configuration process.
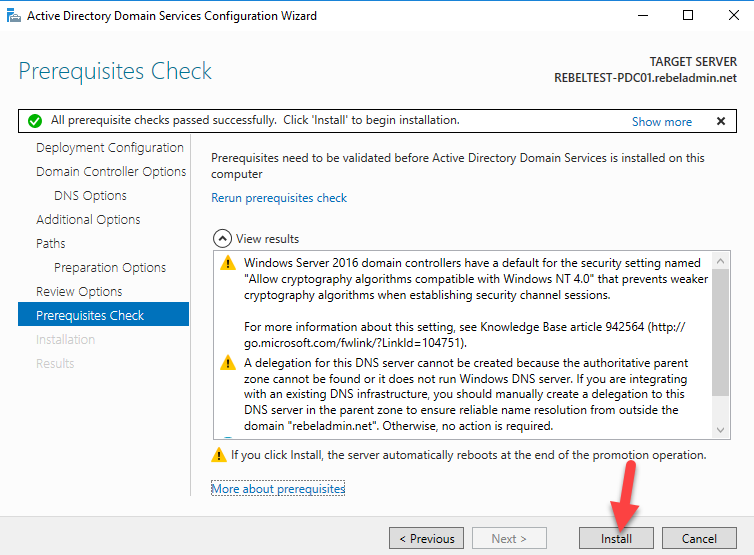
21. Once the installation completes it will restart the server.
Migrate FSMO Roles to windows server 2016 active directory
I assume by now you have idea what is FSMO roles. If not search my blog and you will find article explaining those roles.
There are 2 ways to move the FSMO roles from one active directory server to another. One is using GUI and other one is using command line. I had already written articles about GUI method before so I am going to use PowerShell this time to move FSMO roles. If you like to use GUI mode search my blog and you will find articles on it.
1) Log in to windows server 2016 AD as enterprise administrator
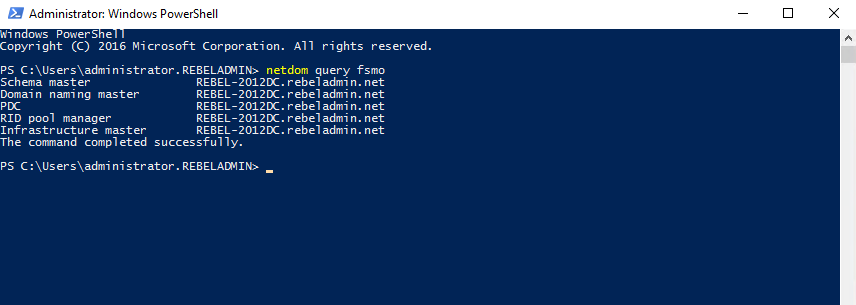
2) Open up the Powershell as administrator. Then type netdom query fsmo. This will list down the FSMO roles and its current owner.
3) In my demo, the windows server 2012 R2 DC server holds all 5 fsmo roles. Now to move fsmo roles over, type Move-ADDirectoryServerOperationMasterRole -Identity REBELTEST-PDC01 -OperationMasterRole SchemaMaster, DomainNamingMaster, PDCEmulator, RIDMaster, InfrastructureMaster and press enter
In here REBELTEST-PDC01 is the windows server 2016 DC. If FSMO roles are placed on different servers, you can migrate each and every FSMO roles to different servers.

4) Once its completed, type netdom query fsmo again and you can see now its windows server 2016 DC is the new FSMO roles owner.

Uninstall AD role from windows server 2012 R2
Now we moved FSMO roles but we still running system on windows 2012 R2 domain and forest functional levels. In order to upgrade it, first we need to decommission AD roles from existing windows server 2012 R2 servers.
1) Log in to windows 2012 R2 domain server as enterprise administrator
2) Open the PowerShell as administrator
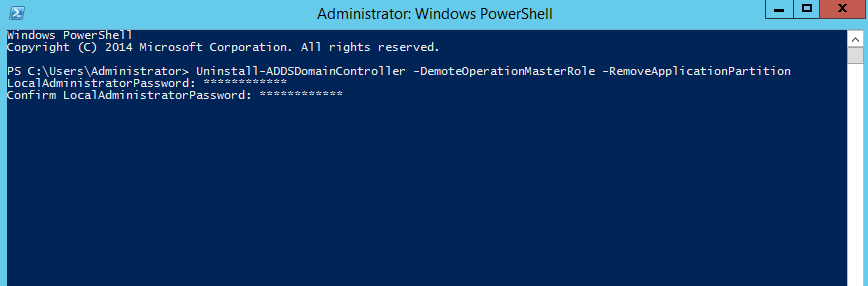
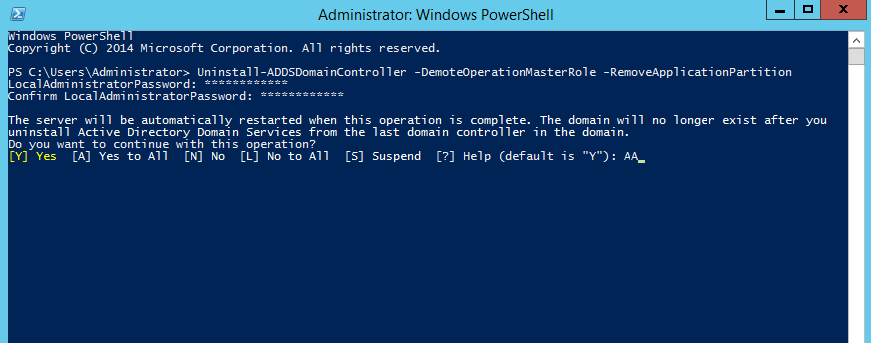
3) Then type Uninstall-ADDSDomainController -DemoteOperationMasterRole -RemoveApplicationPartition and press enter. It will ask for local administrator password. provide new password for local administrator and press enter.
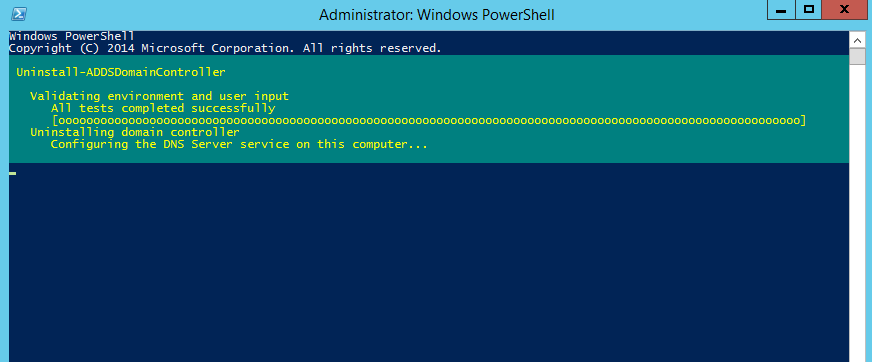
4) Once its completed it will restart the server.
Upgrade the forest and domain functional levels to windows server 2016
Now we have the windows server 2012 R2 domain controllers demoted, next step is to upgrade domain and forest functional levels.
1) Log in to windows server 2016 DC as enterprise administrator
2) Open PowerShell as administrator
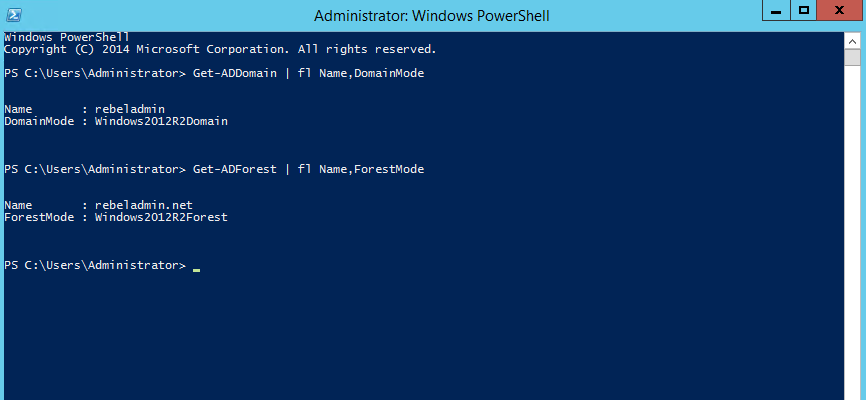
3) Then type Set-ADDomainMode –identity rebeladmin.net -DomainMode Windows2016Domain to upgrade domain functional level to windows server 2016. In here rebeladmin.net is the domain name.

4) Then type Set-ADForestMode -Identity rebeladmin.net -ForestMode Windows2016Forest to upgrade forest functional level.

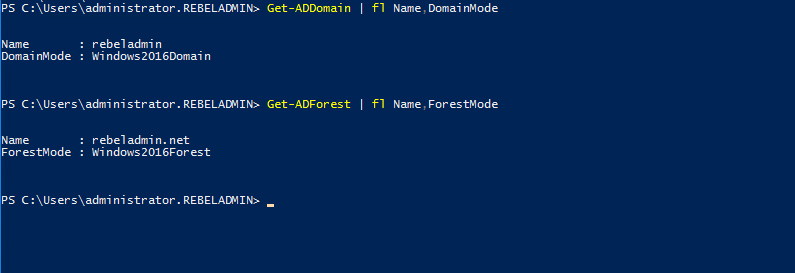
5) Once done you can run Get-ADDomain | fl Name,DomainMode and Get-ADForest | fl Name,ForestMode to confirm new domain and functional level
Hope this post was useful and if you got any questions feel free to contact me on rebeladm@live.com


I would like to upgrade my Server 2008R2 PDC to server 2016, however i have exchange 2010 on the same PDC server. I want to upgrade this to Exchange 2016 as well. Do i need to move the exchange first before i demote the AD on the 2008R2 PDC ?
running exchange on PDC is not recommended process. but still if you like to move sameway first you will need to upgrade exchange and then do the PDC.
After running the Move-ADDirectoryServerOperationMasterRole -Identity REBELTEST-PDC01 -OperationMasterRole SchemaMaster, DomainNamingMaster, PDCEmulator, RIDMaster, InfrastructureMaster
the roles are still showing on the old PDC when I run netdom query fsmo
Any ideas?
Thanks its really helpful for me but I wanna to ask that you might missed a step for before migrate win 2012 r2 to win 2016 that is adprep /forestPrep & adprep /domainPrep. Whether its needed or deprecated in new windows server 2016. pls reply
you do not need to run it manually any more. it is part of the installation process.
How do the DNS records get moved to the new 2016 DC?
Thank you for the step-by-step. I have a question slightly different from another that you had answered.
I have a small network. The PDC has Server 2008 R2 and Exchange 2010 running on it. I would like to migrate AD to a new Server 2016 system while at the same time leaving Exchange 2010 on the existing server.
If I follow your steps to:
* migrate AD FSMO roles to Server 2016
* demote my Server 2008 R2 machine
* upgrade my Server 2016's domain and forest function level
After doing all this will the Exchange 2010 Server continue to operate correctly on the Server 2008 R2 machine?
Thanks for your help.
This was very helpful! thank you,
I am wondering if the upgrade from Windows Server 2008 R2 if possible with the same steps.
Please advise.
Hi, I am planning to update from Server 2008 (Not R2) to 2016 . will everything be same ?
Please advise
Hi,
Thank you, really a useful step by step migration guide.
I have one question, is it possible to upgrade/migrate Domain controllers from Windows Server 2008 R2 Enterprise to Windows Server 2016???
Thank you!
Hi,
after the Upgrade i have the Problem, that when i turn off my old dc2k13r2, my domain also is gone on the 2016. I am not finding my failure. Any Ideas?
Thanks a lot
Thank you for this post… its very helpful..
i have a question:
i install exchange 2013 and it create schema in my active directory (2012 r2). now i want migrate from active directory 2012 r2 to 2016 and install a new exchange 2016. put i think it not possible because exist schema.
can i migrate active directory without schema and install exchange 2016 ?
Thank You…
How do we connect the domains by giving the command lines.., Please suggest the commands
Hi, how to add existing domain to new domain server. Thanks. you immediate response in highly appreciated
can you explain what you mean by existing domain ? are you talking about adding additional domain controller to the existing domain ?
Hi,
I have windows AD server 2012 R2 and I am not able to take backup as its hard drive having issue.
The AD server is running for now please suggest what i need to do ?
Thanks
Dear sir
I try to upgrade windows 2012 standard server with the domain controller to the evaluation version 2016 standard. but not showing the keep file and application these all tests are doing in the virtual lab environment and its possible to upgrade same server 2012 to server 2016 because of my only one domain controller run the physical machine. kindly provide your feedback thanks, advance.
Thank you for post..it is very helpful.
I have a question.. We had distributed FSMO roles on different different servers, like forest wide on root dc, and domain wide roles on child DC. So now I need to migrate windows 2008R2 to 2016. So Where i need to deploy first 2016 server and which roles i need to migrate 2016. Like is there any sequence of FSMO roles migrations?
if I move my 2016 data center server to 2016 standard server, the "Upgrade the forest and domain functional levels to windows server 2016" step can be ignore since it's the same forest and domain functional levels? Let me know. Thanks
Great tutorial,
Please i want to know if the workstations previously joined in the decomissioned domain controller will still authenticate and work seamlessly without further work on them.
Also is it advisable to decomissioned the domain controller immediately after upgrade in a bit to move to higher functional level as stated here without waiting for a week or so to ensure everything works fine.
Hello, Do these steps work migrating windows server 2012 R2 to windows server 2019 standard?
Hi,
Thank you, really a useful step by step migration guide.
I have one question, is it possible to upgrade/migrate PDC from Windows Server 2008 R2 Enterprise and CDC in Server 2016 Enterprise to Windows Server 2016???