
When you are in hybrid cloud setup with azure, using site-to-site VPN gateway you can have better continuity for your workloads. in this post, I am going to demonstrate how to set up site-to-site VPN Gateway.
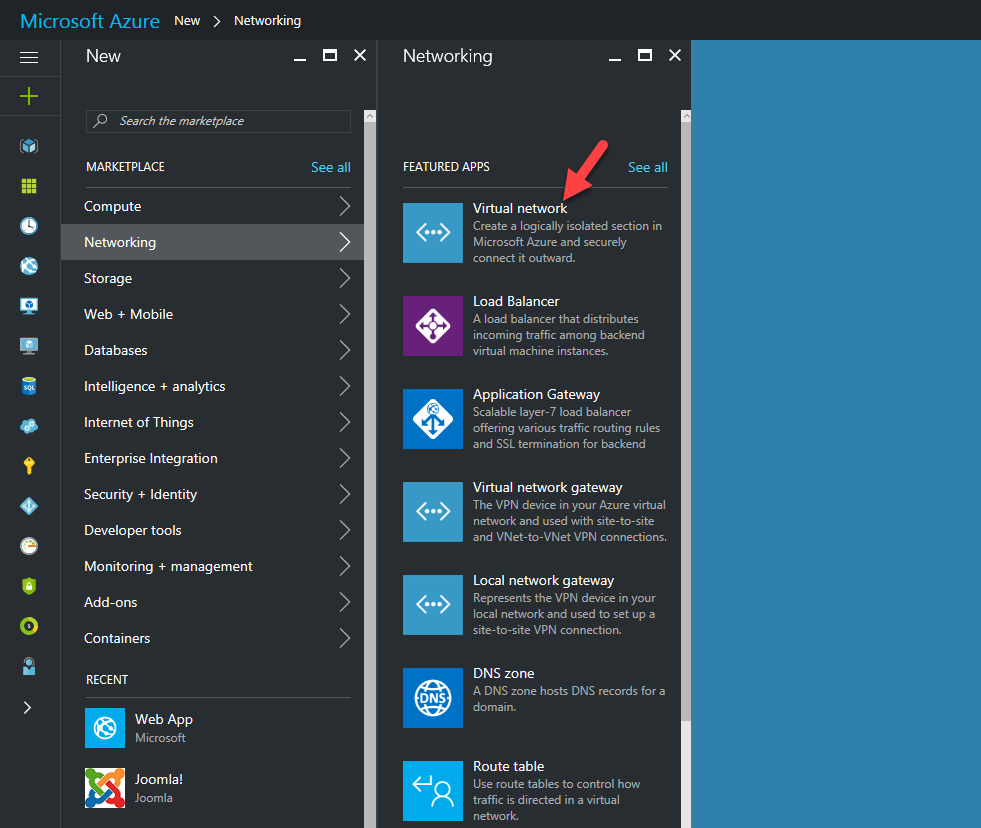
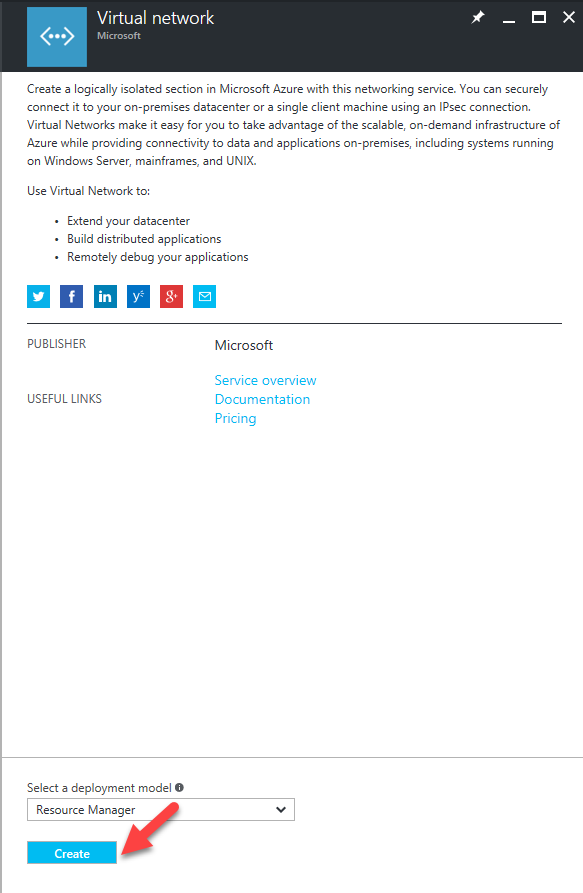
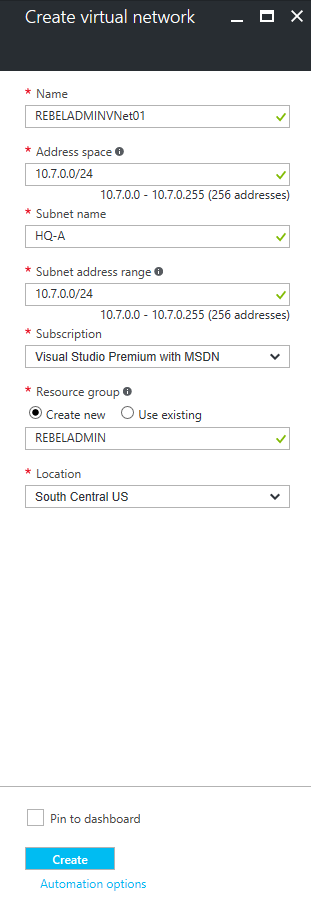
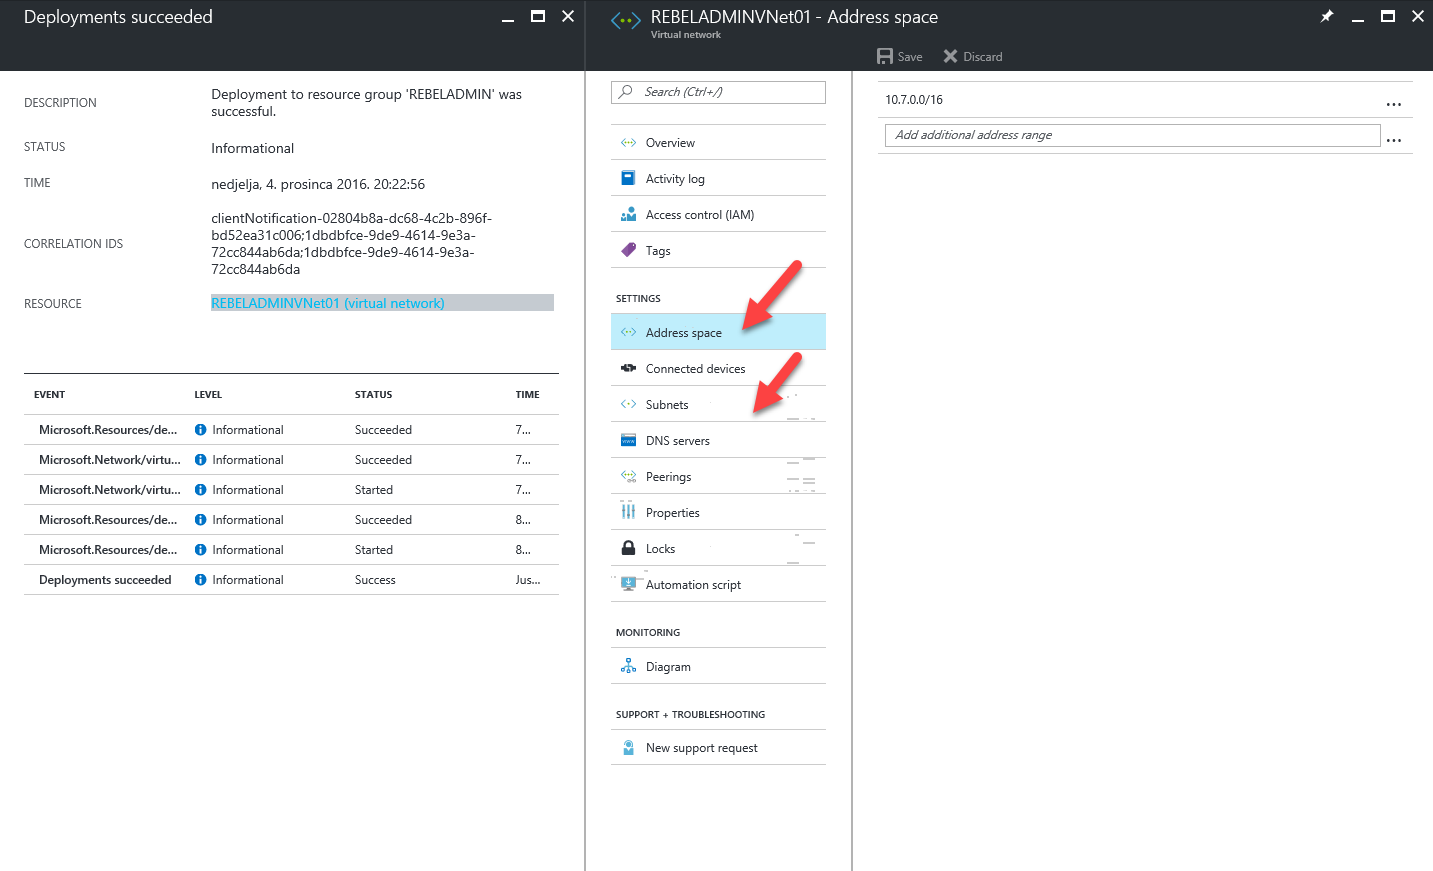
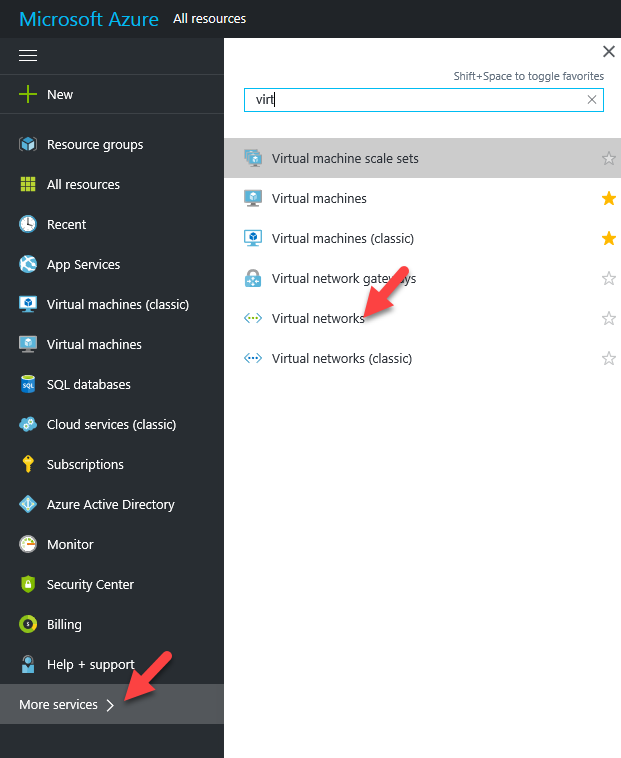
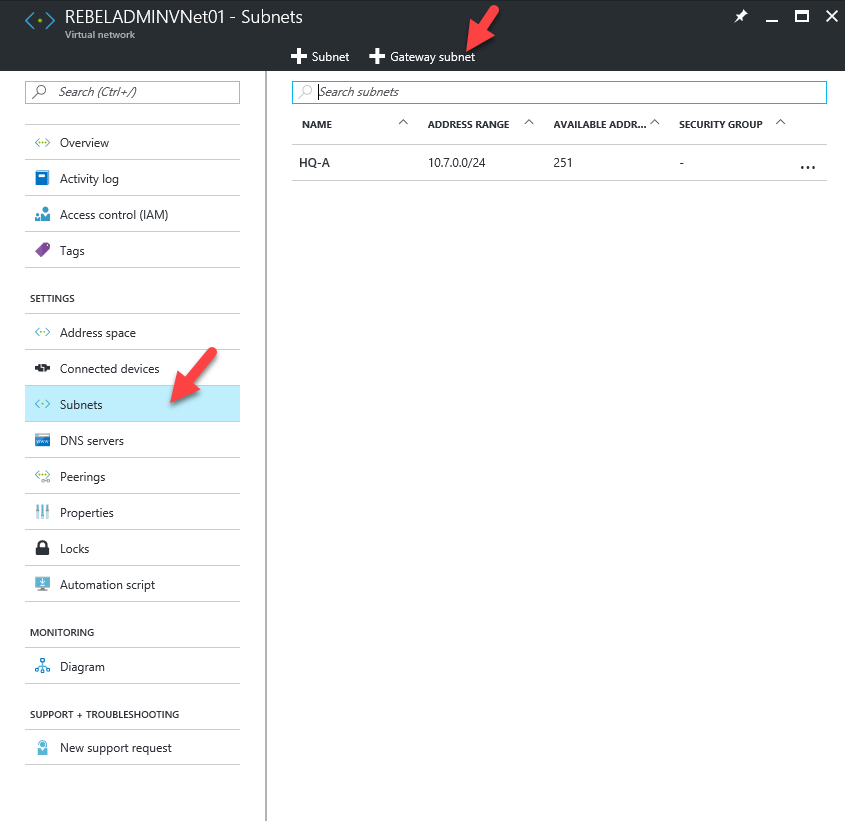
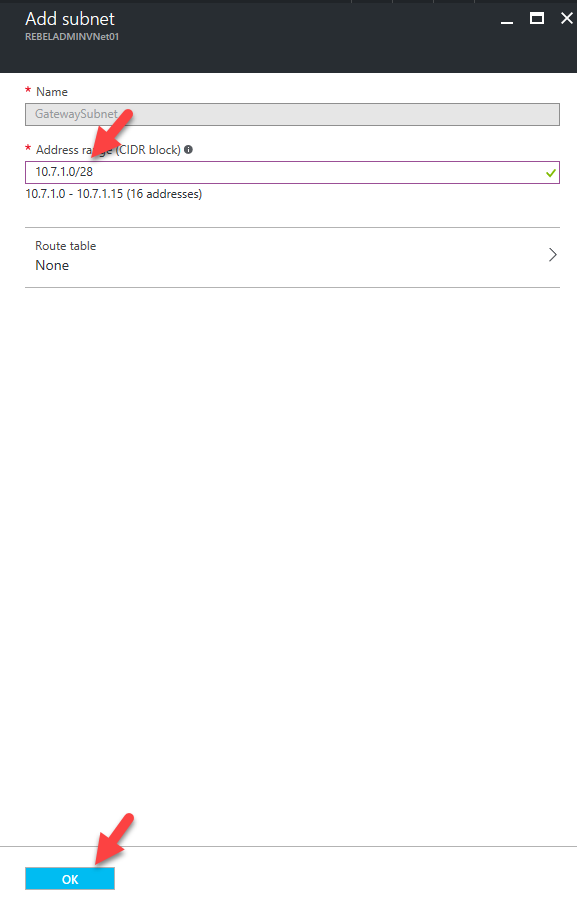
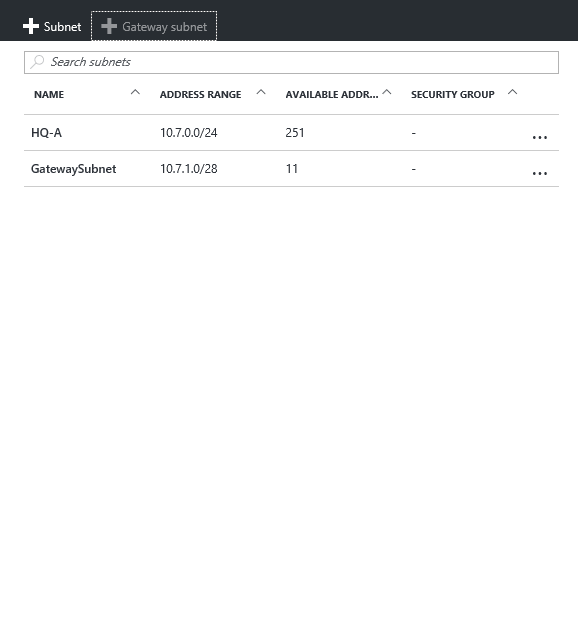
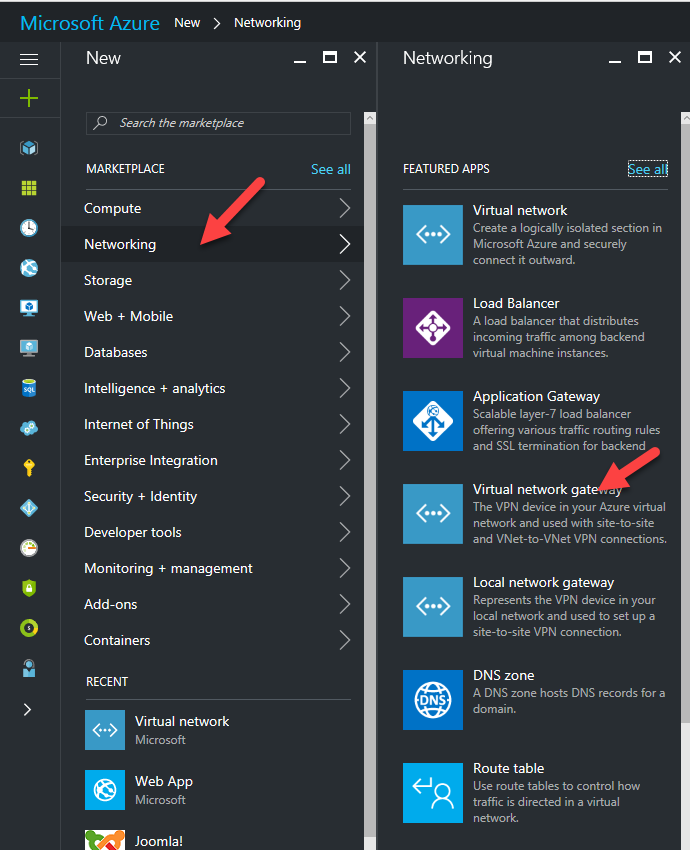
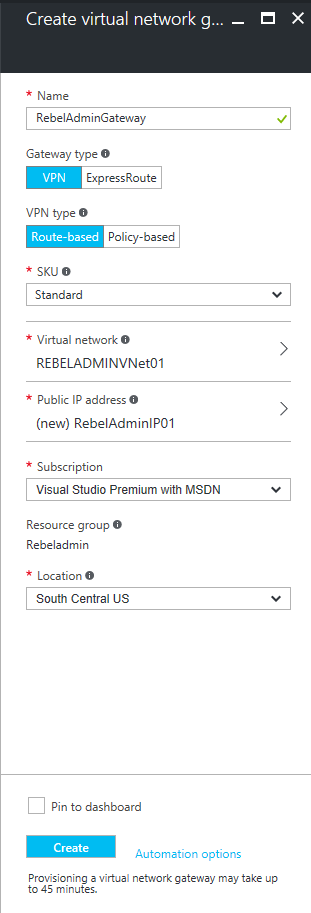
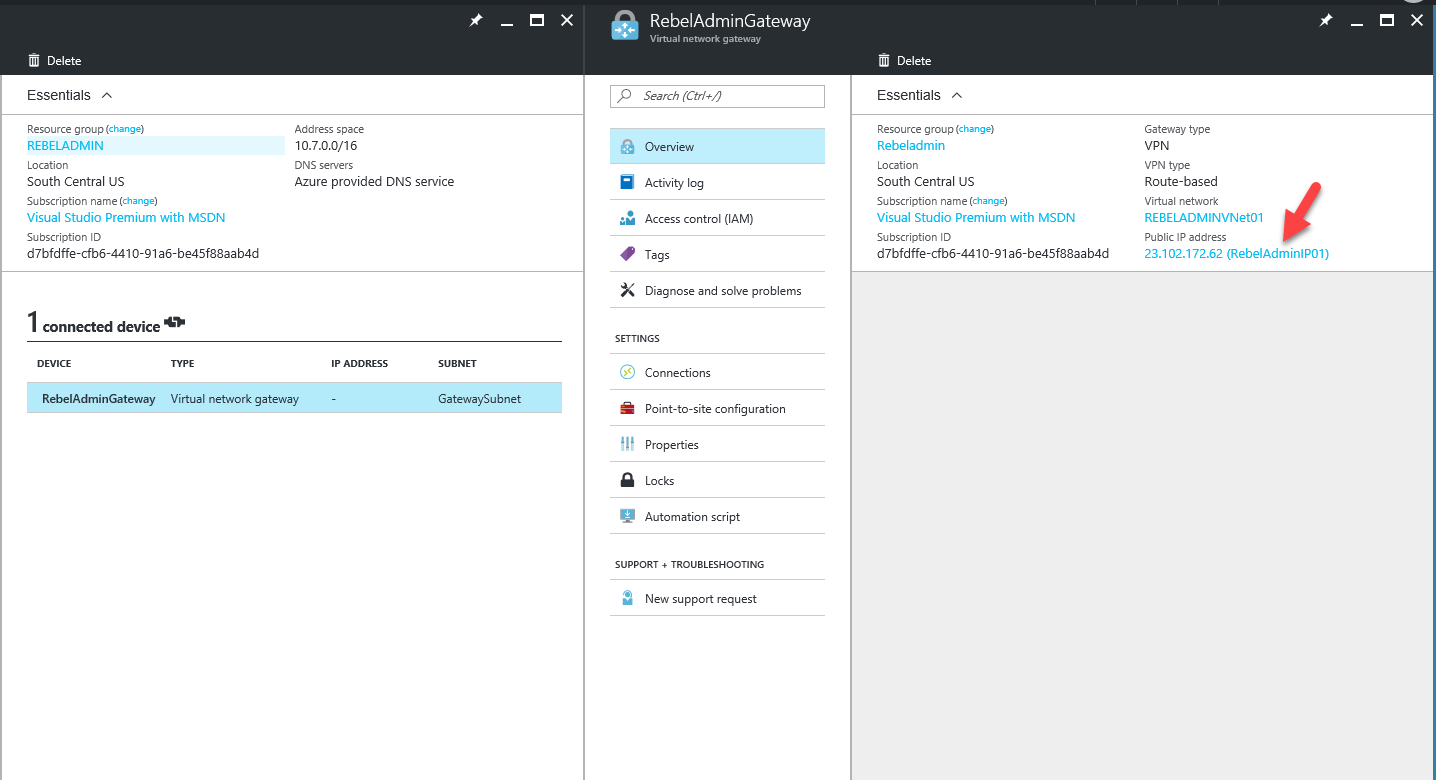
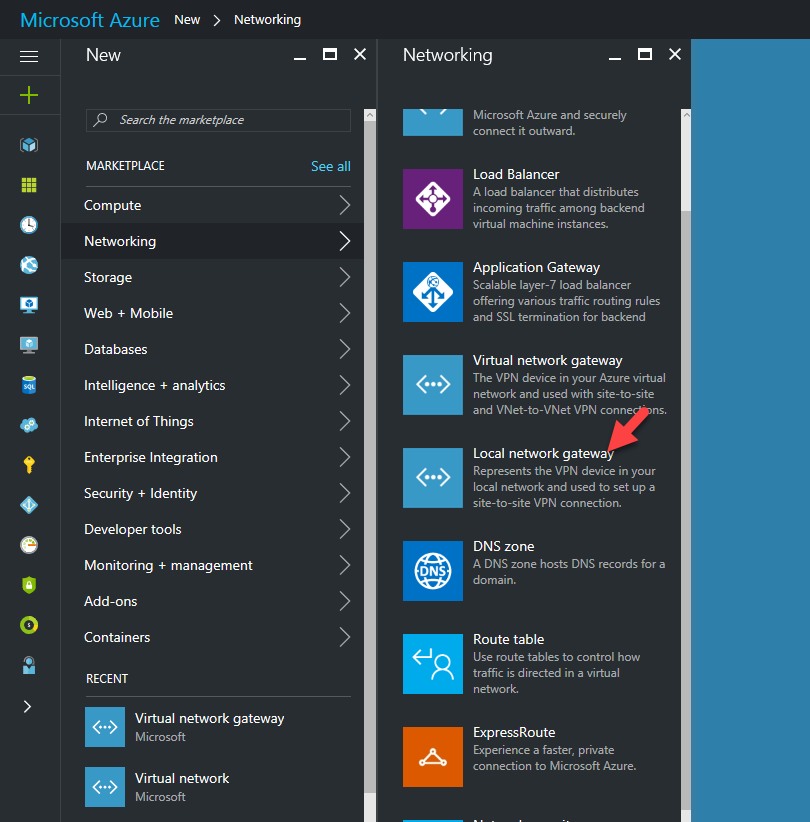
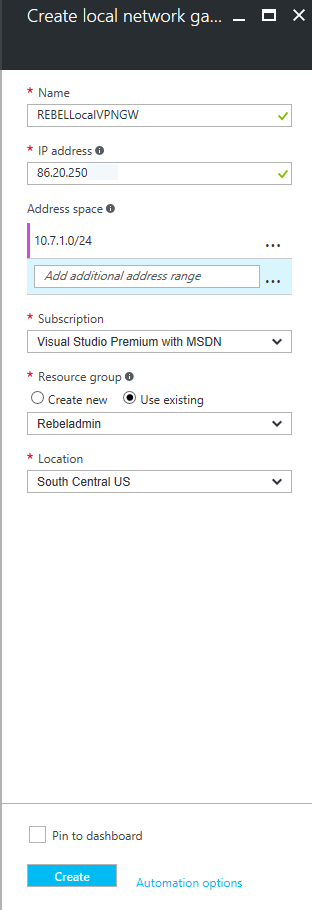
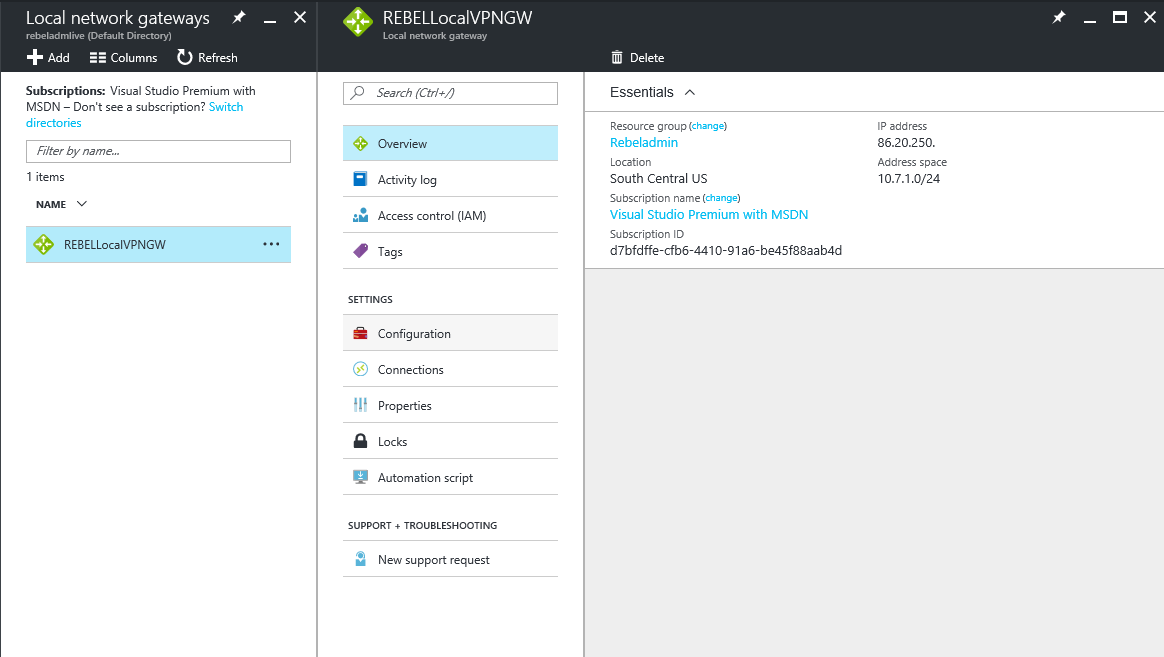
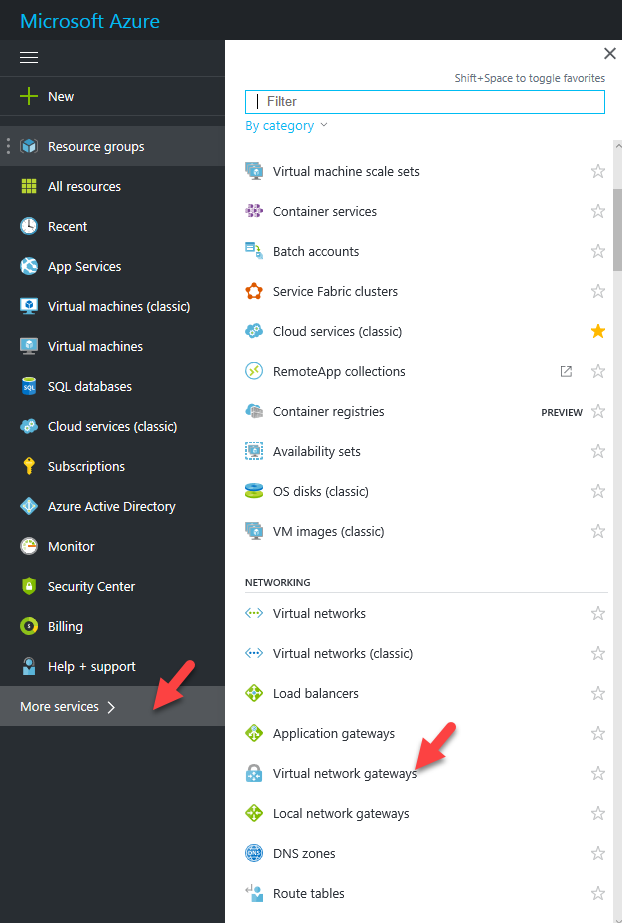
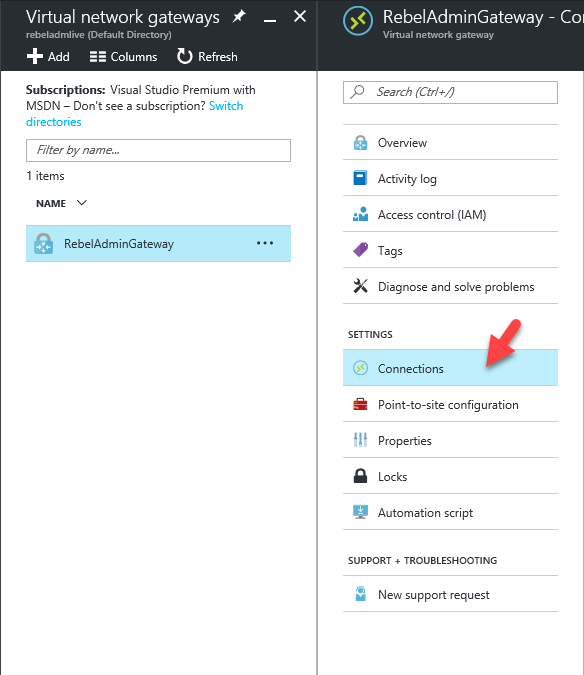
VPN Gateway Configuration
Before start make sure you have following in place.
1) VPN device – you need to have VPN device in on-premises to create the VPN connection with azure. the supported list of devices can found on here. Also, you need to have the relevant knowledge to configure it on your device. I am not going to cover it in details here as settings are different based on the vendor.
2) Static Public IP address – your VPN device should have external public IP address and it shouldn’t be NAT.
3) Valid Azure Subscription – Of because you need active Azure subscription. It can be paid or free trial.


Hi Dishan,
Very well explained with screenshots. Thanks for the great post.
Yes very helpful, Thanks
Well Done!! Thanks
Thank you.
Could you please also explain from on-prem end aswell.How on-prem team will configure our azure vnetwork details
Awesome Dishan..great explanation step by step as always..!!
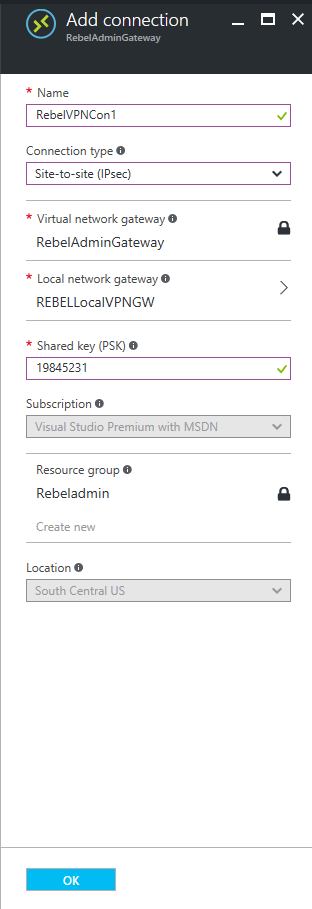
I’m using OpenVPN, how can I configure the shared-key?