
In a network if there is only one Domain controller and one DNS server in placed, in failure of that servers there will not have any way to log back in to domain. And also due to failure on DNS users will face routing issues even with internet. So to avoid from such issue the option is to setup new server as additional domain controller and replicate DNS records with it. This can use as secondary DNS server for the network. This domain controller will be global catalog server as well. So in any failure of domain controller server will not affect the network and users will not face any issues with login or the routing. This doesn’t mean we can complete remove existing domain controller server in a failure as it holds FSMO roles still. But with this method it will keep the network functioning until main domain controller back in network.
To do this we need to have server with windows 2008 r2 installed. The ip of the server need to adjust according to the subnet which will primary domain server uses. As first option the server need to be added to the domain “sprint.local” as client. Then need to install DNS role and Active Directory Domain Services. In previous sections I described how to add these roles, so I am not going to add same screenshots here.
• I will start with the running dcpromo wizard by Start > Run > dcpromo. Then click on “next” to continue.

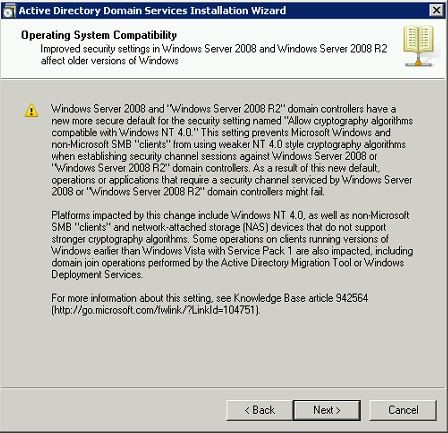
• Then it will give message about the OS and compatibility. Click on “next” to continue.
• The next step is important. In here it will give opportunity to select what kind of setup we need with AD. So as per requirement we will need to use “existing forest” but “add a domain controller to an existing domain”. After selecting those options click “next” to continue.

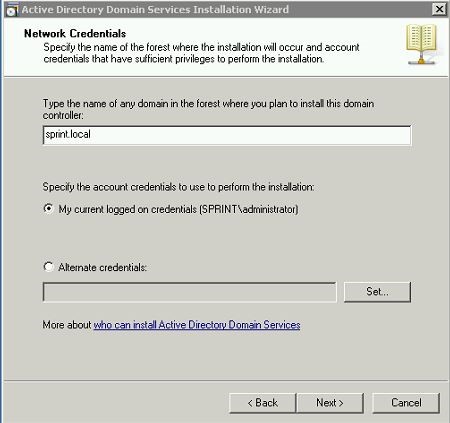
• In next window we can input the details about the existing domain. As per setup its “sprint.local”.
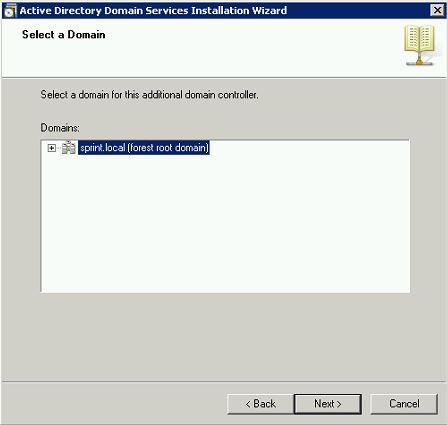
• In next window it will ask to select the domain. Select the default and click on next to continue.
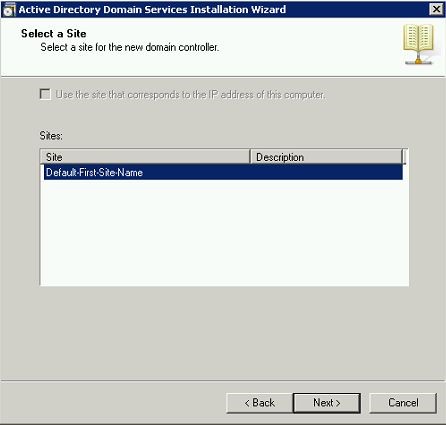
• In next window to select the site. Keep the default and click next.
• In next window we need to select to make it as “global catalog” server and “dns server”.

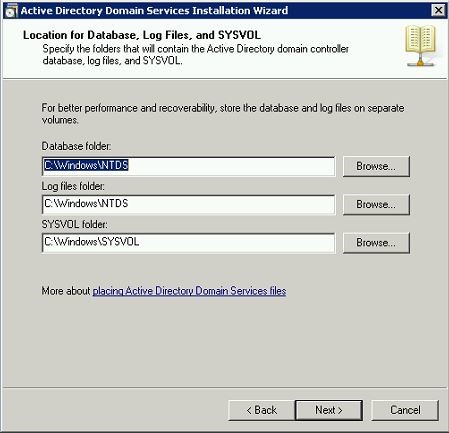
• In next window it will show the paths for logs.
• Next window is to define recovery password, once create a password click on “next” to continue.

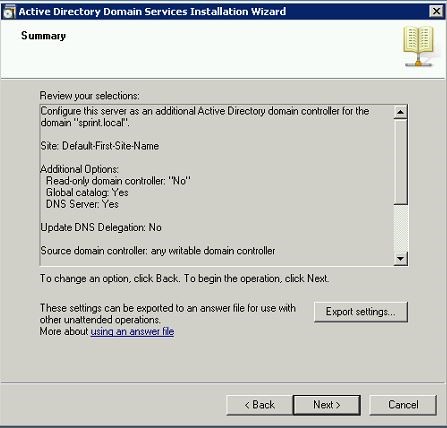
• In next window it will give the summery. Click next to continue.
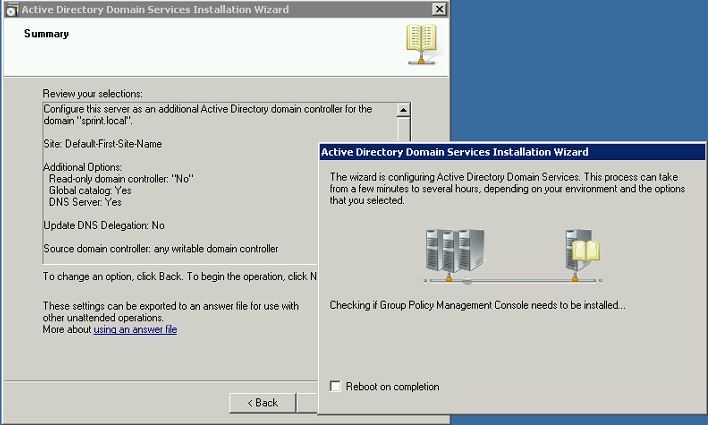
• In next window it will start the installation.
• After reboot you can login to domain using
User Name : sprint.local\administrator
Password : xxxxxxx
Under Active Directory Users and Computers it will show the domain attributes
So now we have the primary domain server, additional domain server and child domain server in place.


Thanks a lot , Really appreciate your Job .
But if i have DHCP server what will be the procedure to continue and if i have a hardware problem on server can i create additional domain install new server2008r2 in my old machine? after installation can i make this new installed server as me additional domain and working as a parent domain.