When comes to the group policy troubleshooting in DC environment, mainly it can be one of following issues.
1) Group policies not applied as expected – it can be to a OU or even to entire domain
2) Group policies applied but it’s not doing what expected
So where we start? How we can find exact issue and fix it?
Most of the time when it comes to group policy troubleshooting admins jumps in to the group policy mmc. But I recon it’s not the way to start.
1) Check Event viewer – its good place to start. Check for any event viewer errors, warnings to see if there is error related to GPO
2) Check if the DC can reachable – if it’s testing from a user pc or server check if it’s can reach the DC properly.
3) Check the network connectivity and DNS – check if the network connection is okay and also dns settings are correct. If it’s between different subnets make sure dc can reach the target users or computers.
After that we can use the tools provides by the windows server 2012 to analysis the problem. Windows server 2012 provides 3 tools help with GP troubleshooting.
1) The Group Policy Result Wizard
2) GPResult.exe command
3) Group Policy Modelling Wizard
Group Policy Result Wizard
Using the wizard we can identify and GPO related issues against a user computer or a server. To run this tool following requirements need to be fulfilled.
1) Target should run windows xp operating system or newer
2) Target must be online and should be able to contact by from source without issue
3) Need administrative rights to target computer
4) WMI must be running on target and port 135 and 445 should be open
Let’s see how we can run this tool.
1) Log in to DC as domain admin or enterprise admin
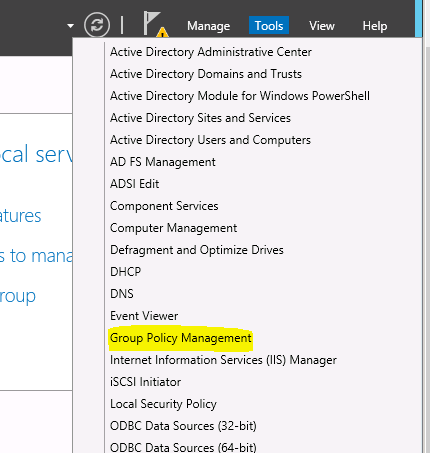
2) Open server manager
3) Then go to tools > group policy management
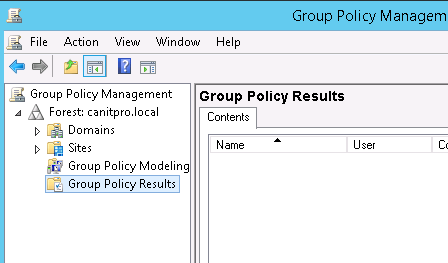
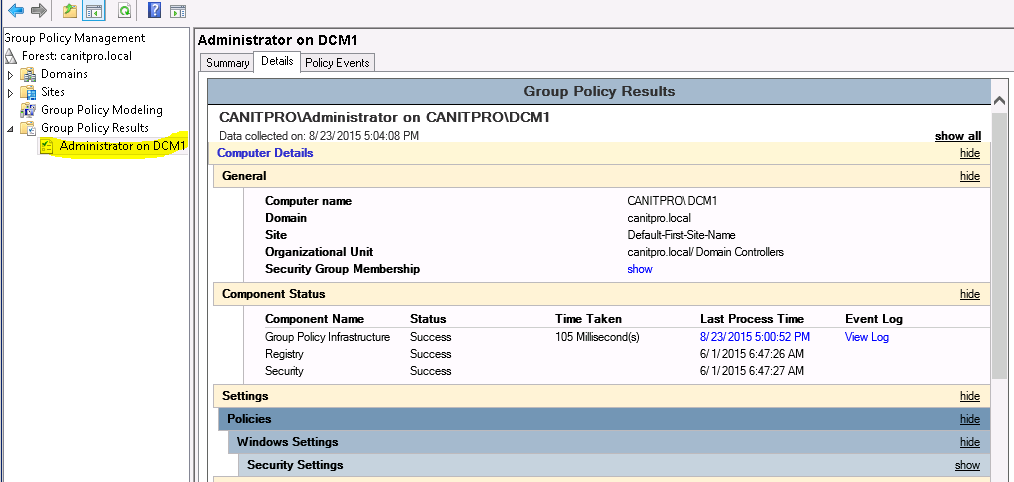
4) Then expand the tree and go to group policy results
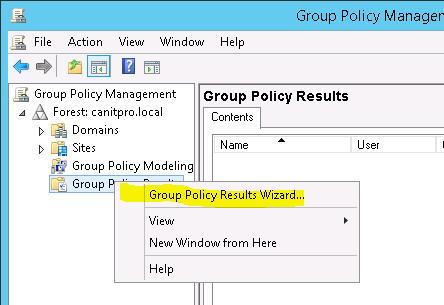
5) Right click on it and click group policy result wizard
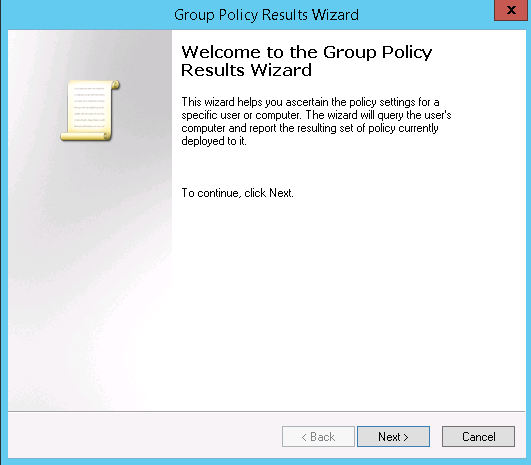
6) Then it will open the wizard. Click next to continue
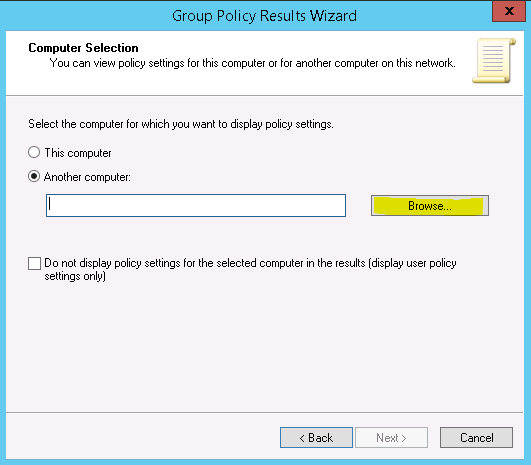
7) In next page select another computer option and click on brows to select the target computer
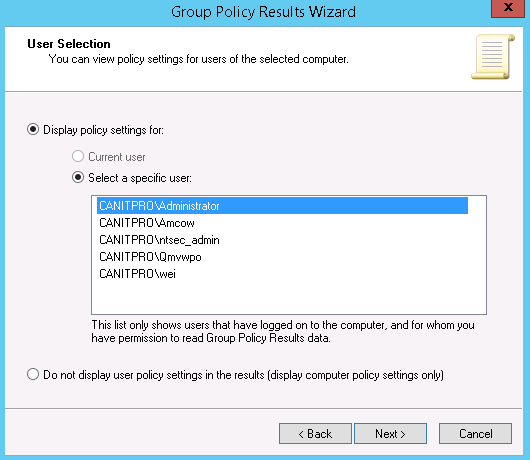
8) In next window it ask which user you need to check, select the user and click next
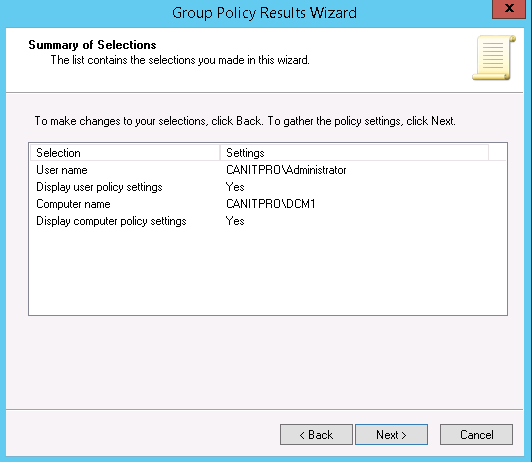
9) Then it gives the summary and click next to proceed
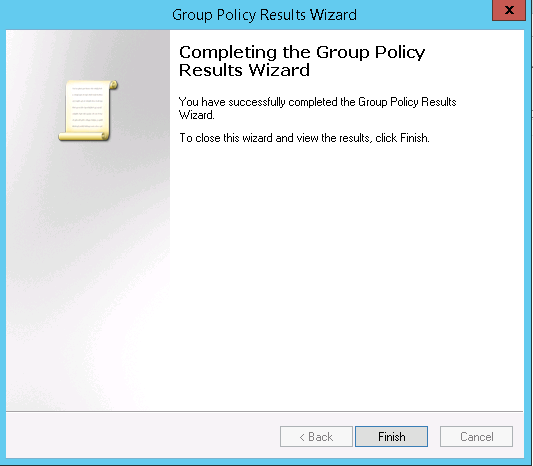
10) Then click finish to exit from the wizard
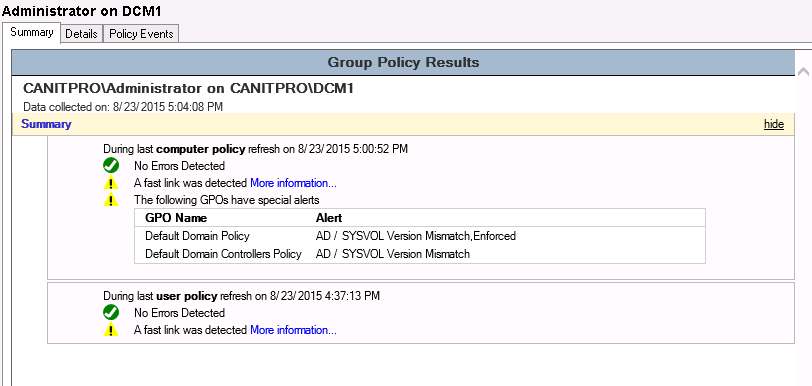
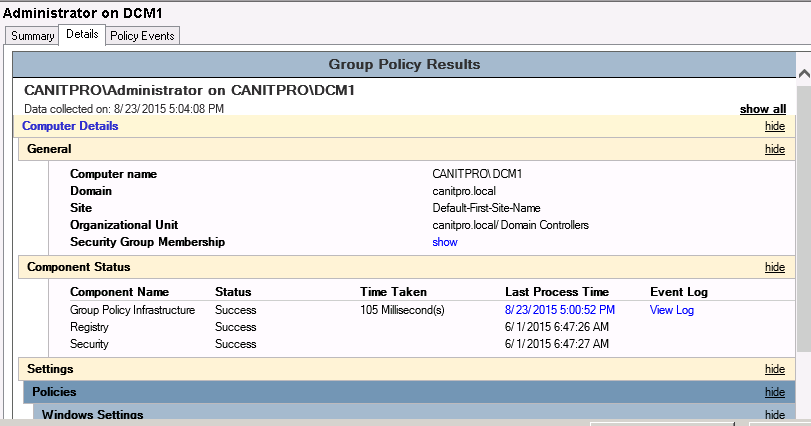
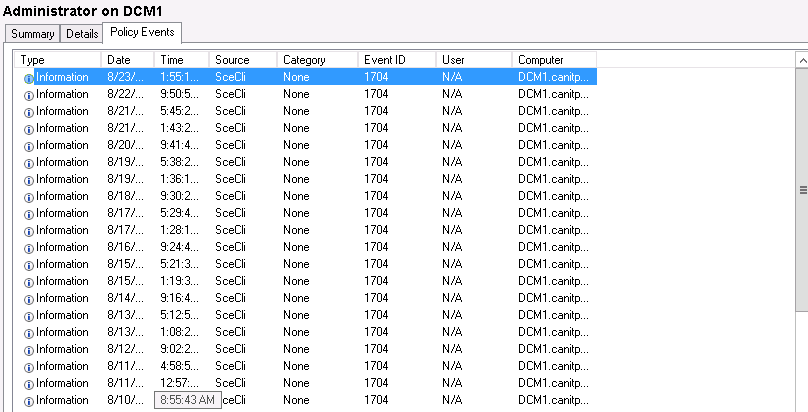
11) then we can see the result page from console
This is the end of part 01 and in next post let’s see how we can use other 2 tools.
If you have any questions about the post feel free to contact me on rebeladm@live.com



Hi Dishan,
Thanks for your post. enjoyed reading it. Please provide link for part 2 of the post.
Bhup Shamsher Singh
suren3624@gmail.com
nice article, really helpful mate.