
In my previous post on this series I have explain about azure AD privileged identity management including its features and how to get it enabled. If you not read it yet you can find it using this link.
in this post I am going to show you more of its features and capabilities.
How to manage privileged roles?
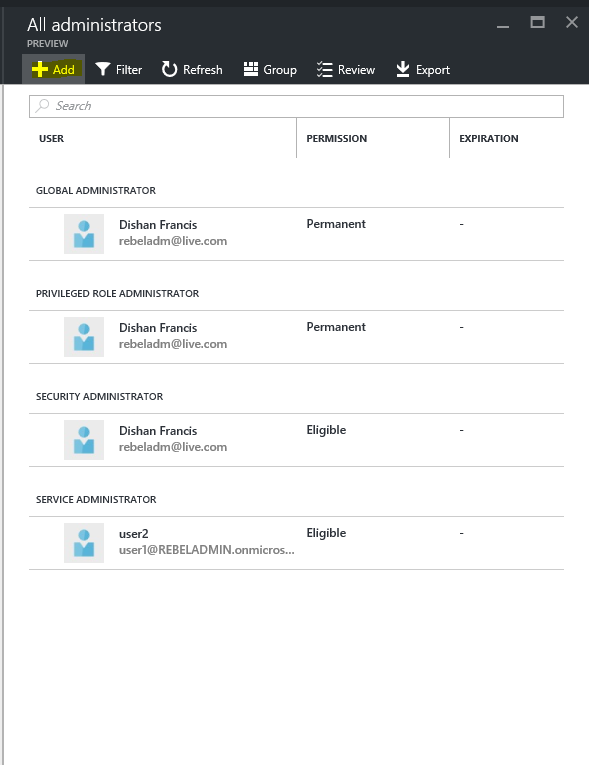
The main point of the identity management is that administrators will have the required privileges when they needed. In part 1 of the post billing administrators and service administrator roles were eligible for the Azure AD privileged Identity management. So it will remove its permanent permissions which is assigned to role.
So if you still need to make one of the account permanent administrator let’s see how we can do it.
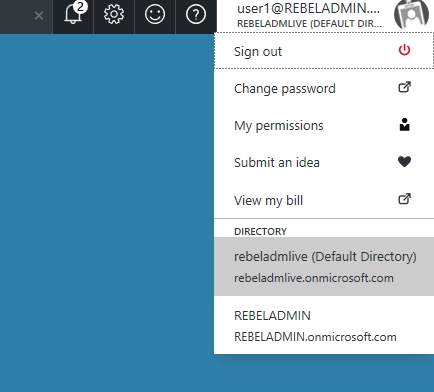
Log in to the azure portal as global administrator (it should be associated with relevant AD instance)
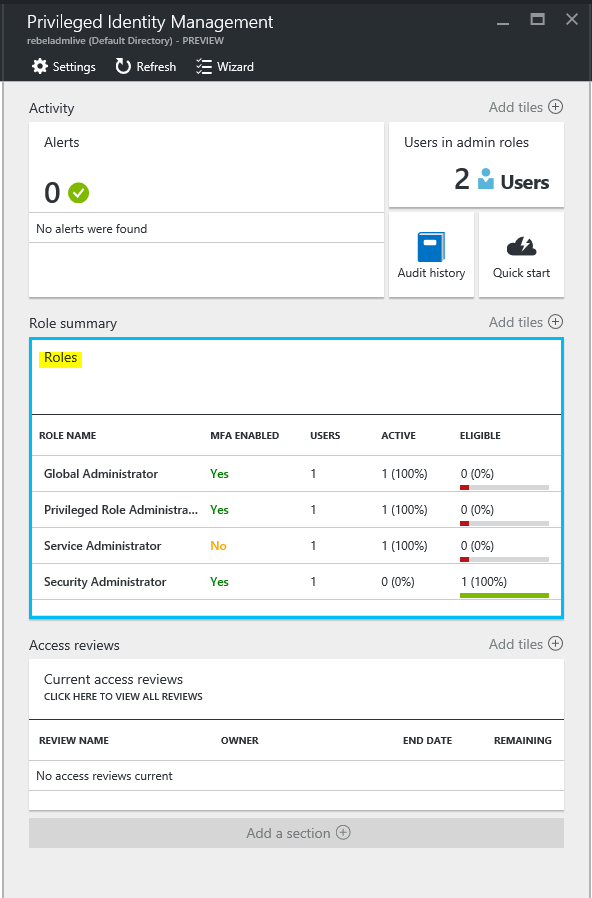
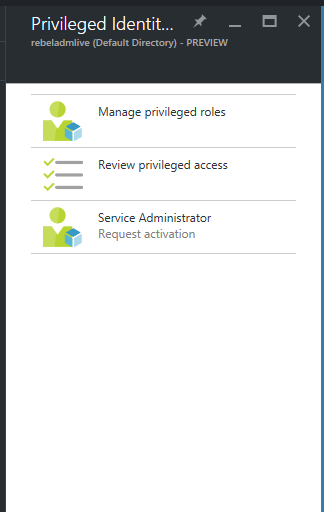
Open the Azure AD privileged identity management from portal
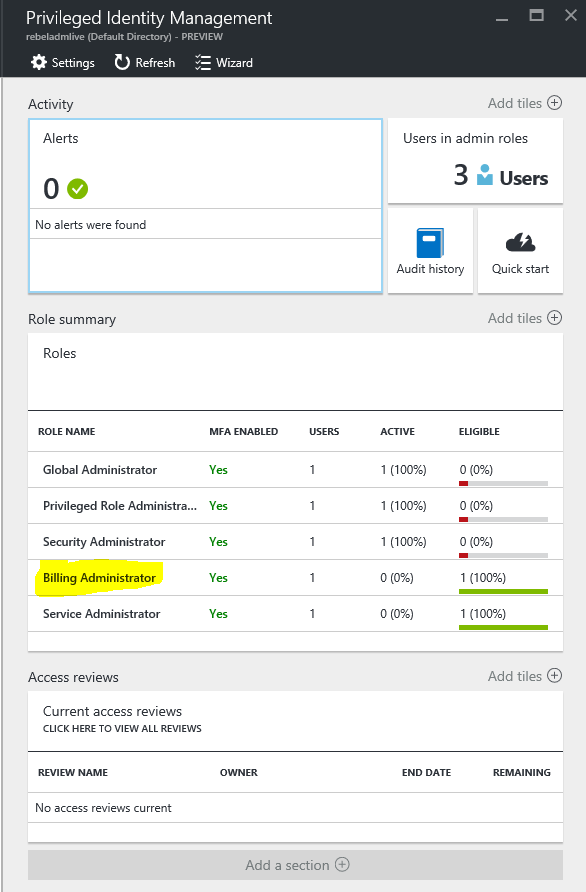
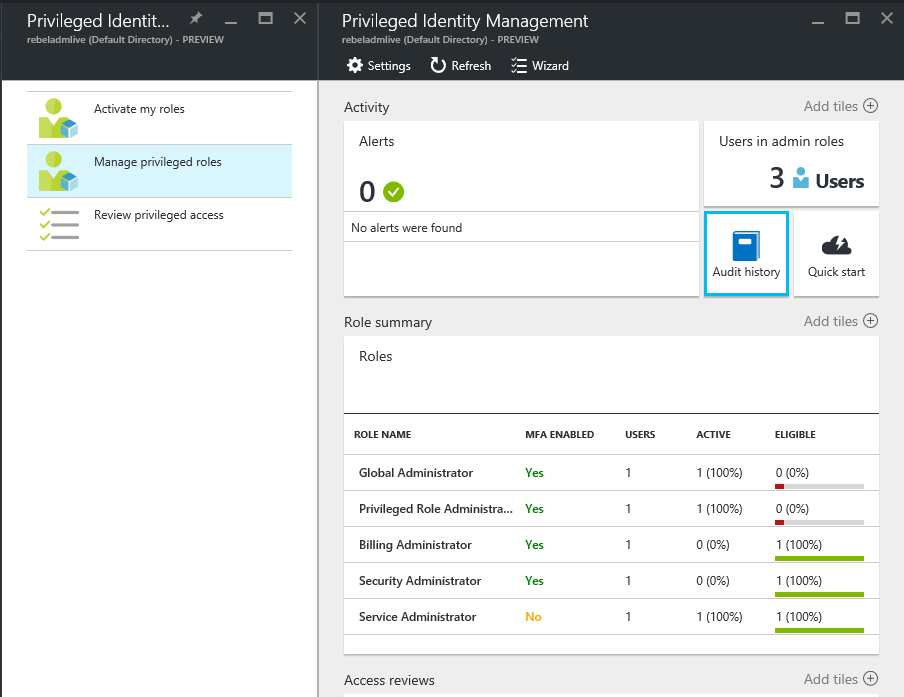
Then click on managed privileged roles

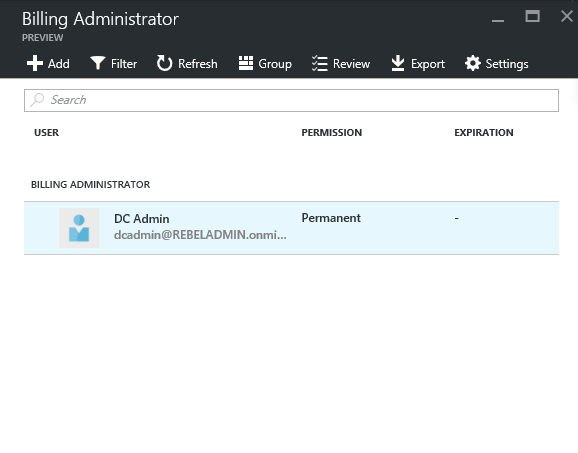
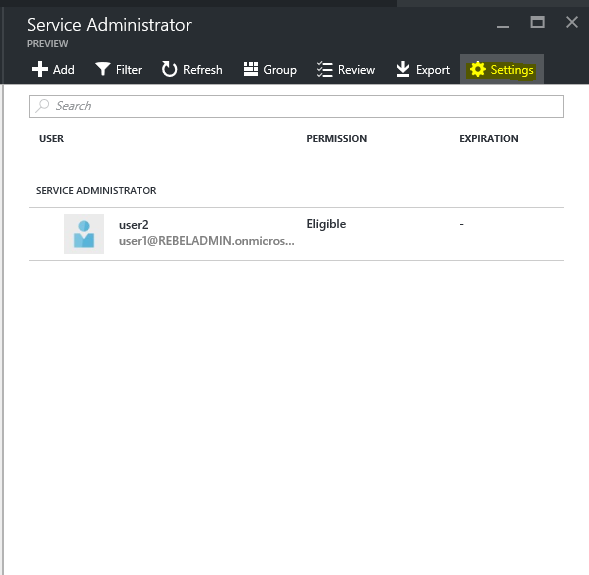
In next page it will list down the summary of the roles. Let’s assume we need to make one of the billing administrators “permanent”. To do that click on billing administrators
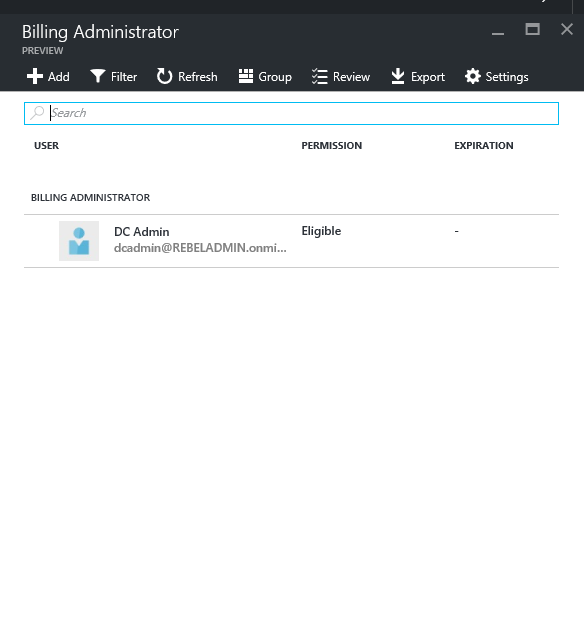
It will list down the users which is eligible for the role and click on the account you need to make permanent.
Then click on more in next page and click on option make perm
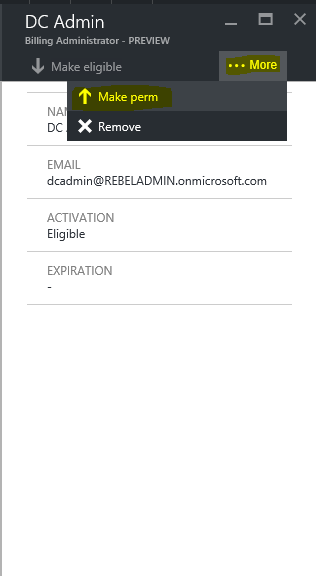
Once completed its shows as permanent
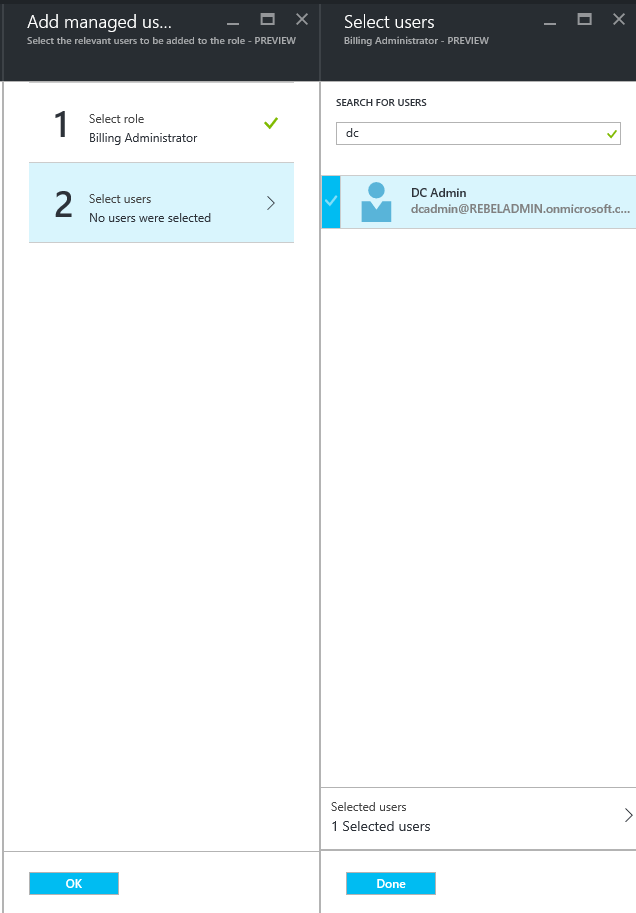
Same way we can add an administrator to the roles. To do it go to roles, if you need to add new role it can do too. Click on roles on the manage privileges roles page
Then click on add
Then from roles click on the role you going to add
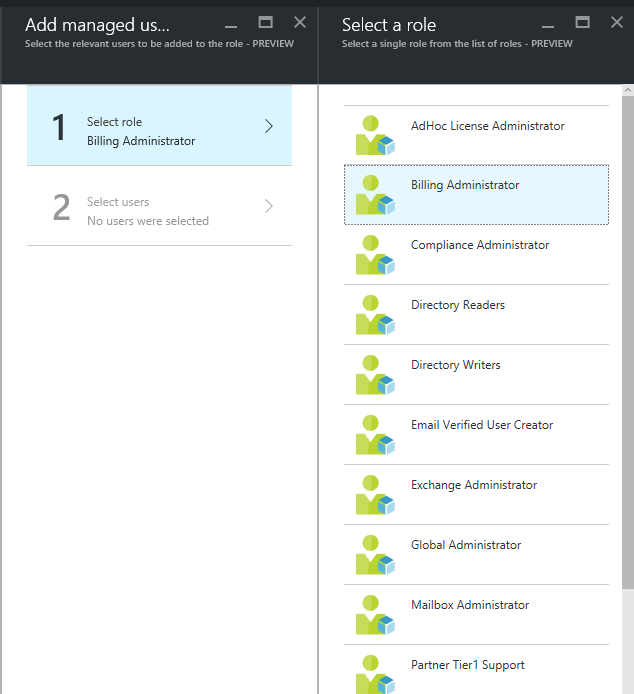
Then under the select users, select the user using search and click on done
How to activate roles by using Azure AD privileged identity management?
Now we have the roles but how we can use them with time bound activation (Just in time administration)
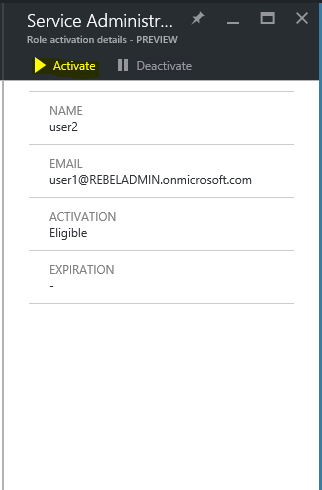
Go to the role page again like in previous page. In my demo I am going to use service administrator role
Then click on settings
In next window we can see that option to define the time. Also we can enable notifications so email notification will send to admin in event of role activation. Also option to request ticket or incident number. This is important to justify the privileged access. Also can use the multifactor authentication in activation to make sure the request is legitimate.
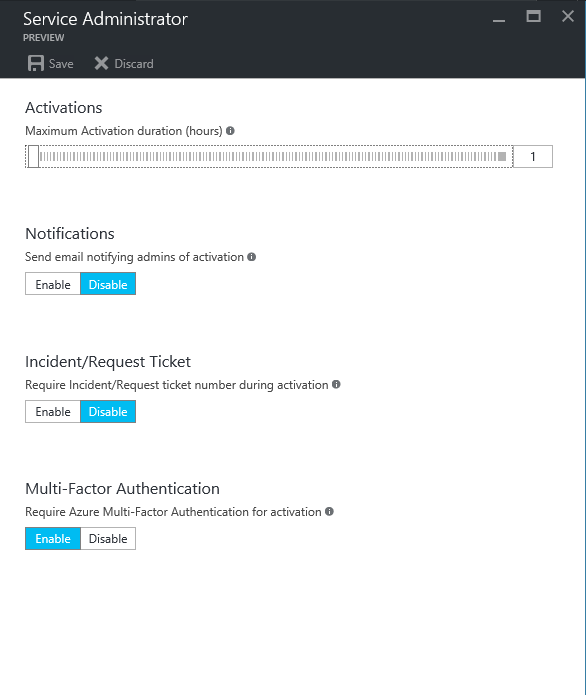
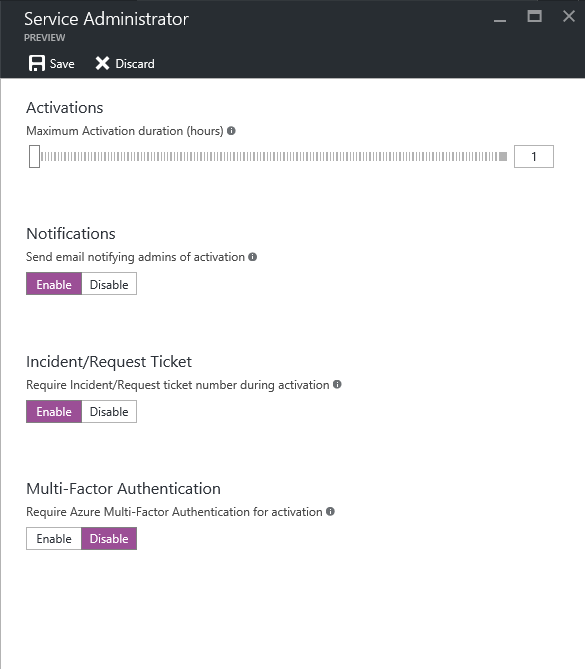
Once you satisfied with settings, click on save to apply.
Then for the testing I logged in as the security administrator to the azure portal.
Then go to the privileged identity management page.
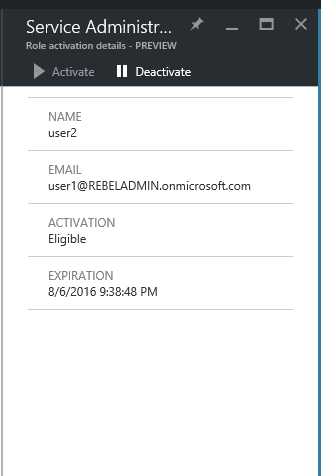
Click on the service administrator
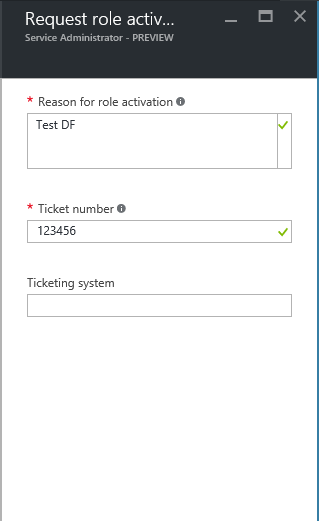
Then click on the activate button, to activate the role
According to the settings its asking for ticket number for activation. Once put the information click on ok
Perfect, now its saying when it expires and it also shows the that roles been activated
Now I change the login and logged back as global administrator.
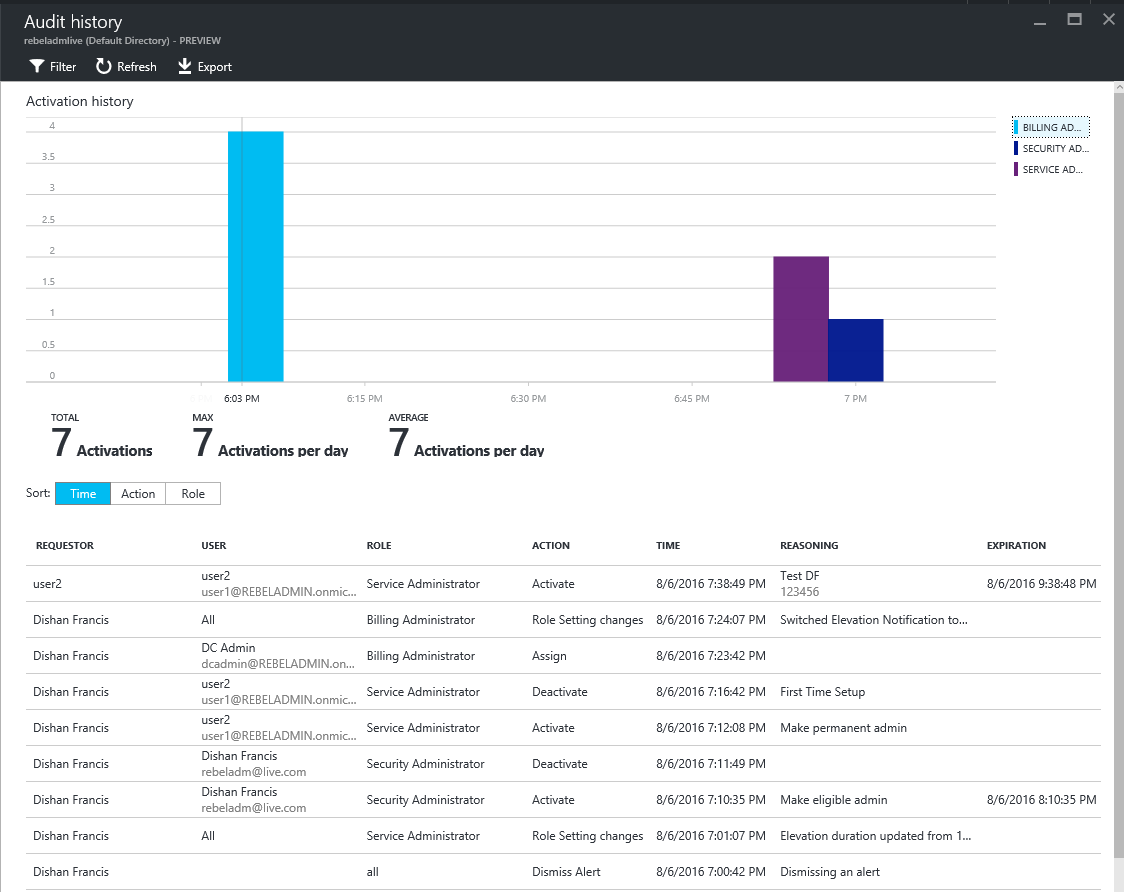
Then if go to privileged management page and click on audit history you can see all the events.
Hope now you have better understanding about Azure AD privileged identity management, If you have any questions feel free to contact me on rebeladm@live.com
PS : This is now replaced with Entra ID Privileged Access Management. But the concept is still remaining the same. We can see certain number of changes on modern privileged identity management solution. especially from the GUI side its more improved and more practical. Also new features are implemented. More info about it can be find in https://learn.microsoft.com/en-us/entra/id-governance/privileged-identity-management/pim-configure

