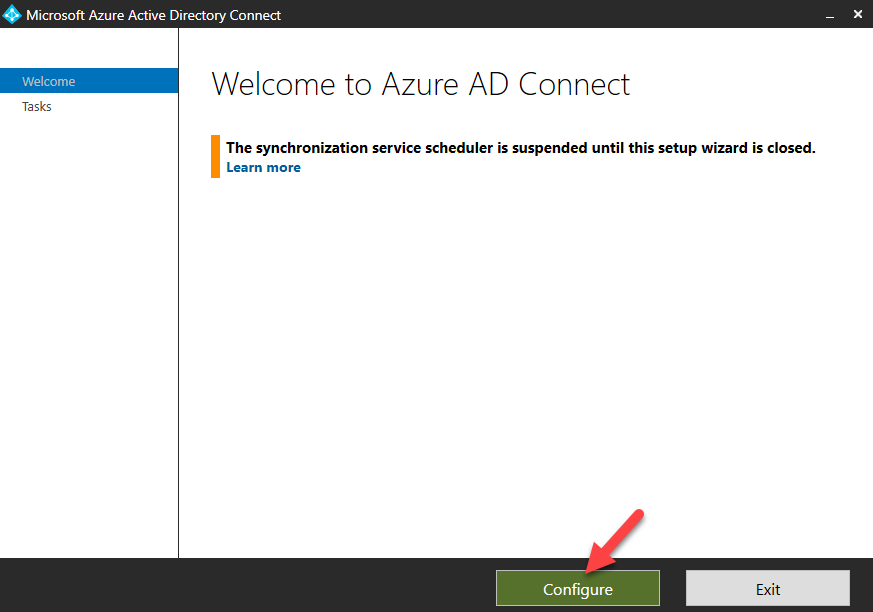
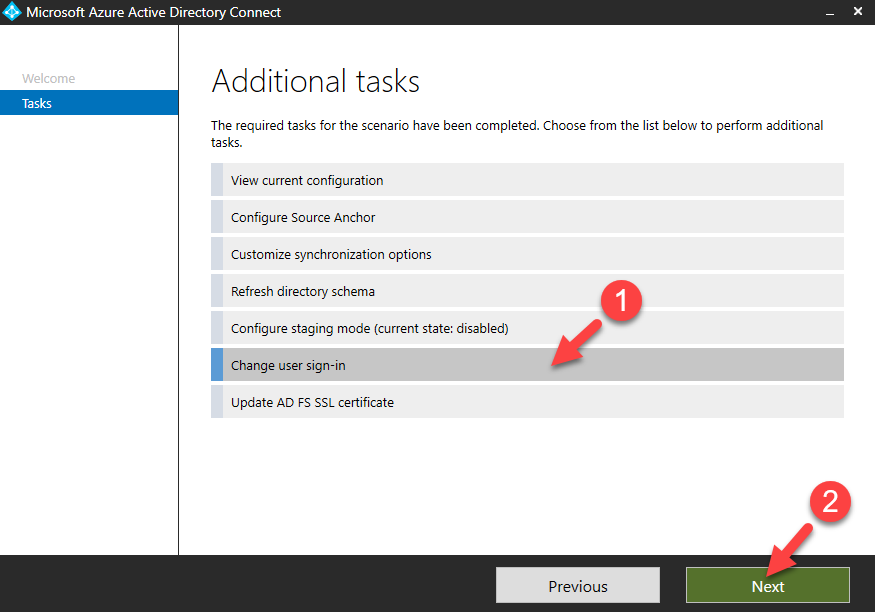
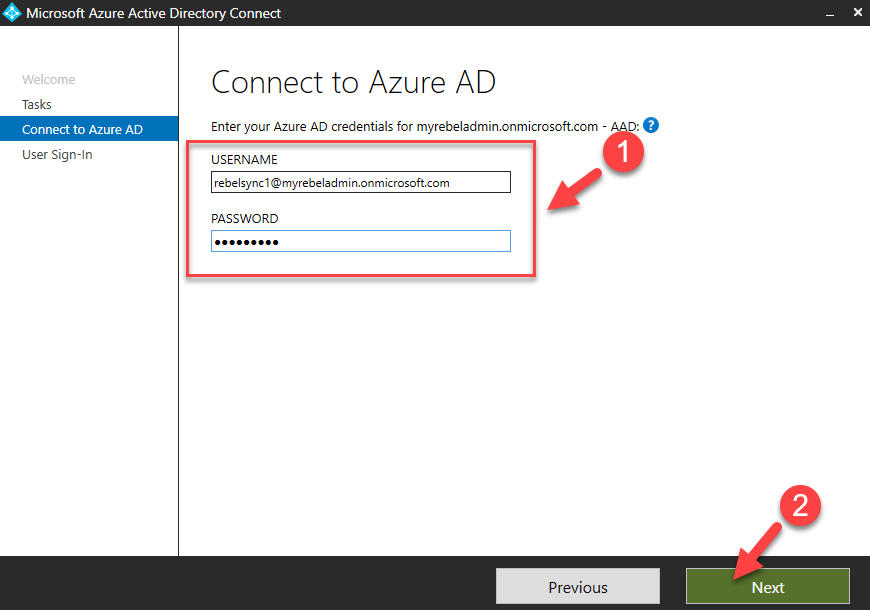
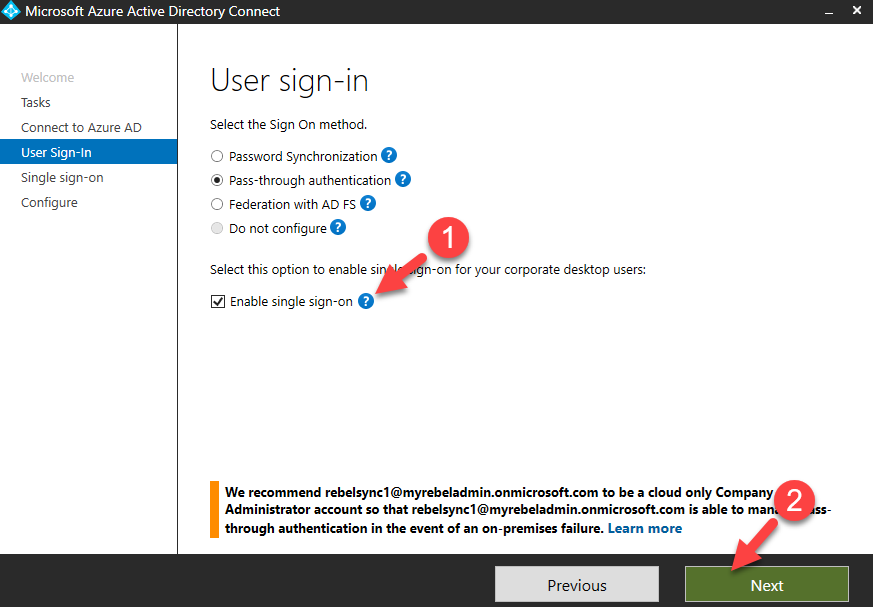
I am sure most of you aware what is single sign-on (SSO) in Active Directory infrastructure and how it works. When we extend identity infrastructures to Azure by using Azure AD, it also allows to extend Single Sign-On capabilities to authenticate in to cloud workloads. it can be done using on-premises ADFS farm. Password Hash Synchronization or Pass-through Authentication allow users to use same user name and password to log in to cloud applications but this is not a “Seamless” access. Even they are using same user name and password, when log in to Azure workloads it will prompt for password.
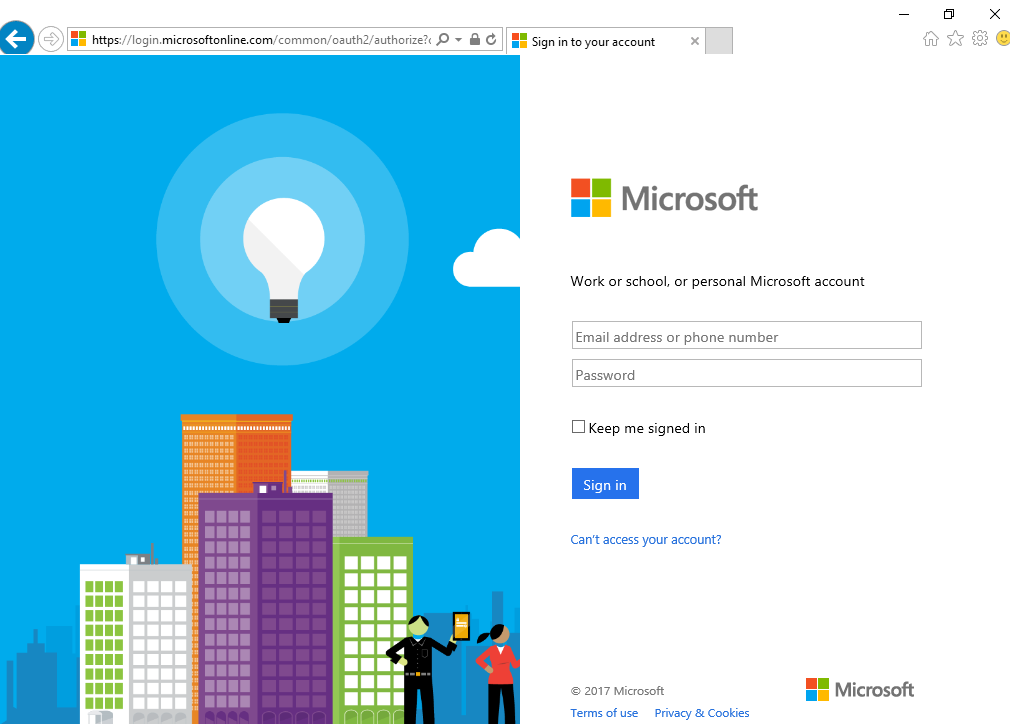
In my below example, I have an Azure AD instance integrated with on-premises AD using Pass-through Authentication. In there I have a user R272845. I logged in to a domain joined computer with this user and try to access application published using Azure. when I type the URL and press enter, it redirects me to Azure AD login page.
Azure Active Directory Seamless Single Sign-On is a feature which allow users to authenticate in to Azure AD without providing password again when login from domain join/ corporate device. This can be integrated with Password Hash Synchronization or Pass-through Authentication. This is still on preview which means cannot use in production environment yet. However, if it doesn’t work in environment, it will always issue the typical Azure AD authentication page, so it will not prevent you from accessing any application. This feature is not supported if you using ADFS option already.
According to Microsoft, following can list as key features of Azure Active Directory Seamless Single Sign-On (Azure AD Seamless SSO)
• Users are automatically signed into both on-premises and cloud-based applications.
• Users don't have to enter their passwords repeatedly.
• No additional components needed on-premises to make this work.
• Works with any method of cloud authentication – Password Hash Synchronization or Pass-through Authentication.
• Can be rolled out to some or all your users using Group Policy.
• Register non-Windows 10 devices with Azure AD without the need for any AD FS infrastructure. This capability needs you to use version 2.1 or later of the workplace-join client.
• Seamless SSO is an opportunistic feature. If it fails for any reason, the user sign-in experience goes back to its regular behavior – i.e, the user needs to enter their password on the sign-in page.
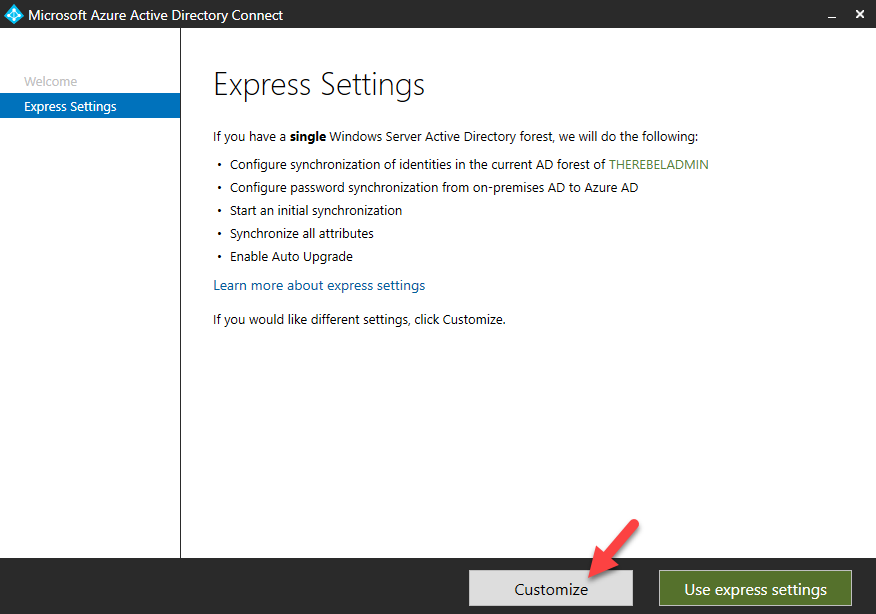
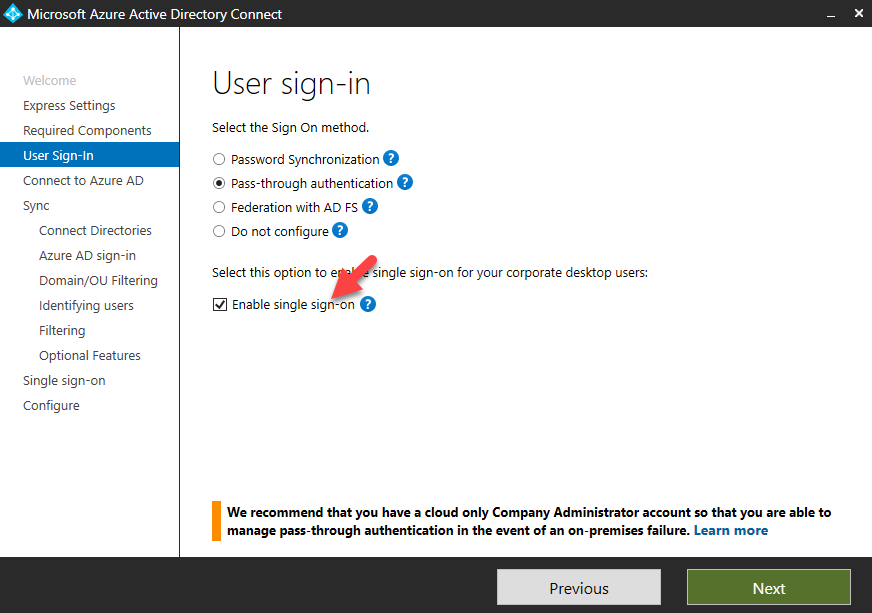
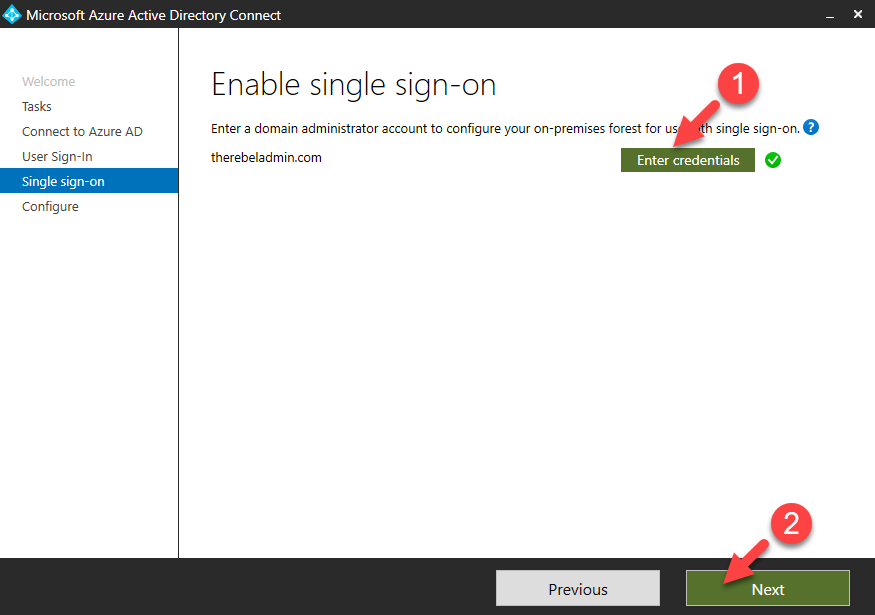
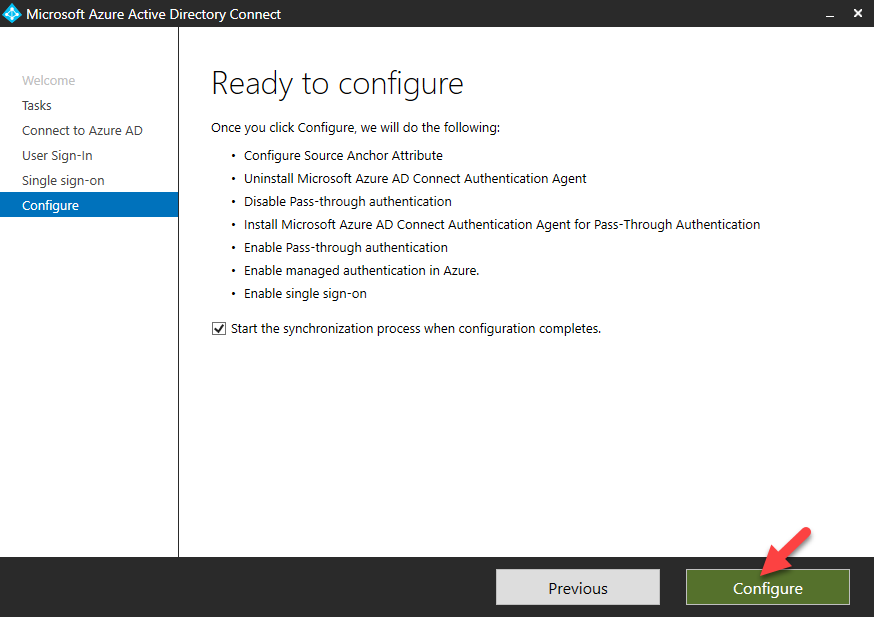
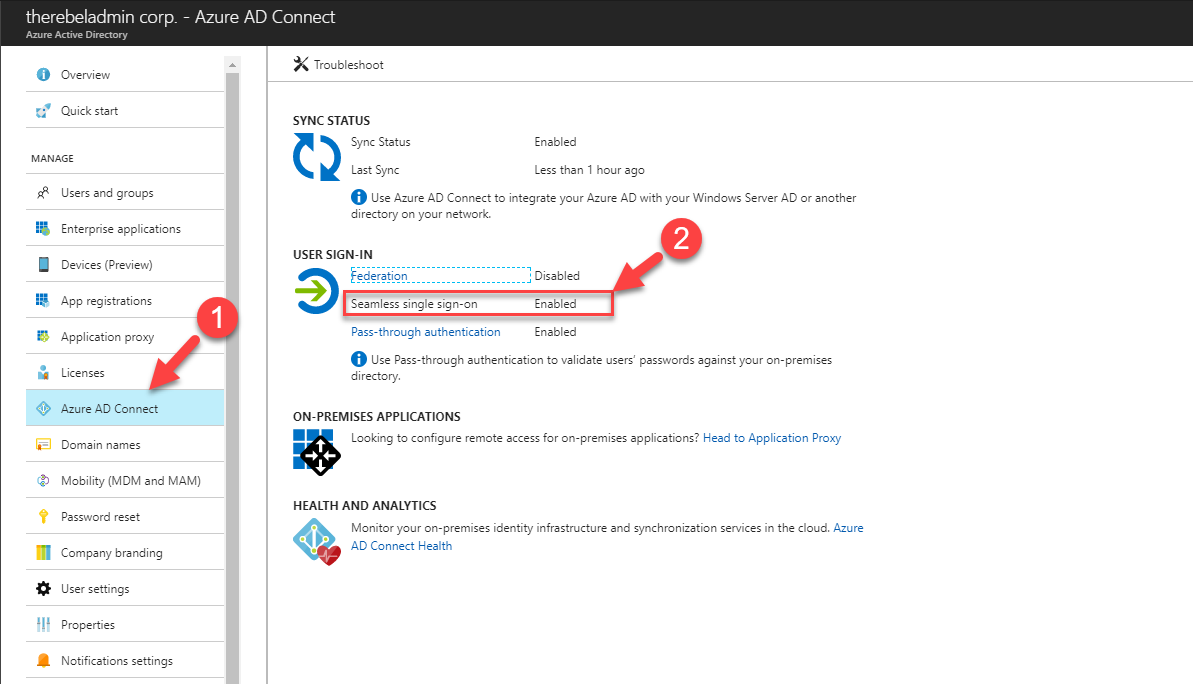
• It can be enabled via Azure AD Connect.
• It is a free feature, and you don't need any paid editions of Azure AD to use it.
• It is supported on web browser-based clients and Office clients that support modern authentication on platforms and browsers capable of Kerberos authentication
According to Microsoft, following environments are supported.
|
OS\Browser |
Internet Explorer |
Edge |
Google Chrome |
Mozilla Firefox |
Safari |
|
Windows 10 |
Yes |
No |
Yes |
Yes, additional config required |
N/A |
|
Windows 8.1 |
Yes |
N/A |
Yes |
Yes, additional config required |
N/A |
|
Windows 8 |
Yes |
N/A |
Yes |
Yes, additional config required |
N/A |
|
Windows 7 |
Yes |
N/A |
Yes |
Yes, additional config required |
N/A |
|
Mac OS X |
N/A |
N/A |
Yes |
Yes, additional config required |
Yes, additional config required |
The current release (at the time this blog post was written) do not support edge browser. Also this feature will not work when users use private browser mode on Firefox or when users have Enhanced Protection mode enabled in IE.
How it works?
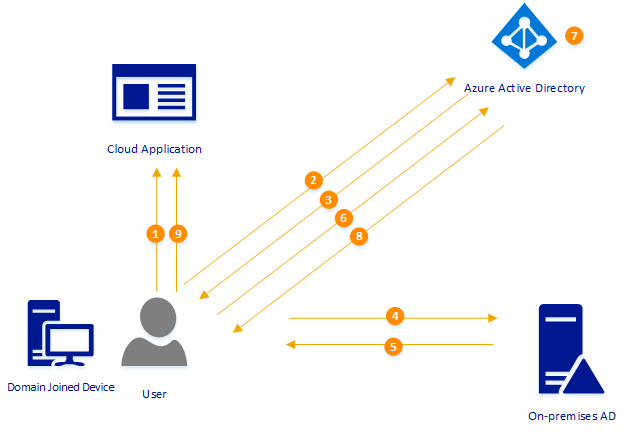
Before we look in to configuration, let’s go ahead and see how it’s really works. In following example, user is trying to access cloud based application (integrated with azure) using his on-premises username, password and domain joined device.
Also, it is important to know what happen in corporate infrastructure when seamless SSO enabled.
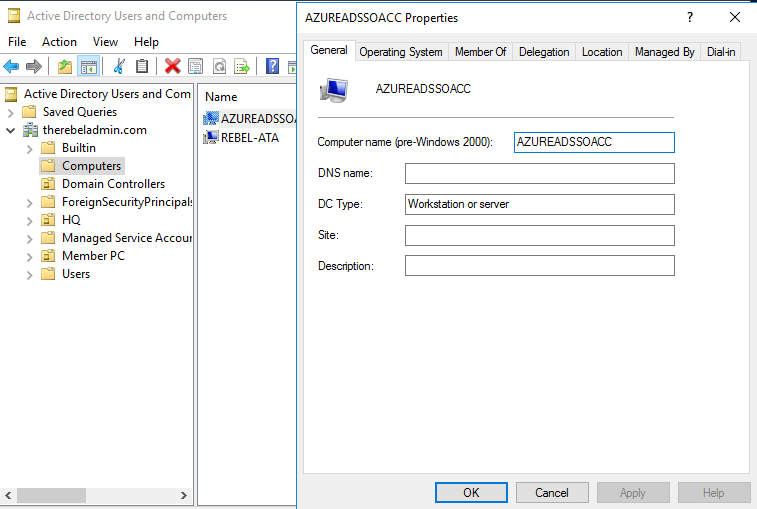
• System will create AZUREADSSOACCT computer object in on-premises AD to represent Azure AD
• AZUREADSSOACCT computer account’s Kerberos decryption key is shared with Azure AD.
• Two Kerberos service principal names (SPNs) are created to represent two URLs that are used during Azure AD sign-in which is https://autologon.microsoftazuread-sso.com and https://aadg.windows.net.nsatc.net
1. User is accessing the application URL using his browser. He is doing it using his domain joined device in corporate network.
2. If user is not sign in already, it is pointed to Azure AD sign in page and then user type his user name.
3. Azure AD challenge back user via browser using 401 response to provide Kerberos ticket.
4. Browser request a Kerberos ticket for AZUREADSSOACCT computer object from on-premises AD. This account will be created in on premise AD as part of the process in order to represent Azure AD.
5. On-premises AD locate the AZUREADSSOACCT computer object and return the Kerberos ticket to the browser encrypted using computer object’s secret.
6. The browser forwards Kerberos ticket to Azure AD.
7. Azure AD decrypts the Kerberos ticket using Kerberos decryption key (This was shared with azure AD when SSO feature enable)
8. After evaluation, Azure AD pass the response back to the user (if required additional steps such as MFA required).
9. User allowed to access the application.
Prerequisites
In order to implement this feature, we need the following,
1. Domain Admin / Enterprise Admin account to install and configure Azure AD Connect in on-premises
2. Global Administrator Account for Azure subscription – in order to create custom domain, configure AD connect etc.
3. Latest Azure AD Connect https://www.microsoft.com/en-us/download/details.aspx?id=47594 – if you have older Azure AD connect version installed, you need to upgrade it to latest before we configure this feature.
4. Azure AD Connect can communicate with *.msappproxy.net URLs and over port 443. If connection is control via IP addresses, the range of azure IP addresses can find in here https://www.microsoft.com/en-us/download/details.aspx?id=41653
5. Add is https://autologon.microsoftazuread-sso.com and https://aadg.windows.net.nsatc.net to browser intranet zone. If users are using IE and chrome, this can be done using group policy. I have written blog post before how to create policy targeting IE. You can find it here.
6. Firefox need above URL added to the trusted Kerberos site list to do Kerberos authentication. To do that go to Firefox browser > Type about:config in address bar > in list look for network.negotiate-auth.trusted-uris > right click and select modify > type “https://autologon.microsoftazuread-sso.com, https://aadg.windows.net.nsatc.net" and click ok
7. if its MAC os, device need to be joined to AD. More details can be found in here


