
Services Accounts are recommended to use when install application or services in infrastructure. It is dedicated account with specific privileges which use to run services, batch jobs, management tasks. In most of the infrastructures, service accounts are typical user accounts with “Password never expire” option. Since these service accounts are not been use regularly, Administrators have to keep track of these accounts and their credentials. I have seen in many occasions where engineers face in to issues due to outdated or misplace service account credential details. Pain of it is, if you reset the password of service accounts, you will need to update services, databases, application settings to get application or services up and running again. Apart from it Engineers also have to manage service principle names (SPN) which helps to identify service instance uniquely.
After considering all these challenges Microsoft has introduced Managed Service Accounts with windows server 2008 R2. These accounts got following features and limitations,
• No more password management. It uses a complex, random, 240-character password and change that automatically when it reaches the domain or computer password expire date.
• It cannot be lock out or use for interactive login.
• One managed service account only can use in one computer. it cannot be share between multiple computers
• Simplified SPN Management – System will automatically change the SPN value if sAMaccount details of the computer change or DNS name property change.
In order to create Managed service account, we can use following command, I am running this from the domain controller.
New-ADServiceAccount -Name "MyAcc1" -RestrictToSingleComputer
In above command I am creating service account called MyAcc1 and I am restricting it to one computer.
Next step is associate the service account with the Host REBEL-SRV01 where I am going to use this service account.
Add-ADComputerServiceAccount -Identity REBEL-SRV01 -ServiceAccount "MyAcc1"
Next step is to install service account in the REBEL-SRV01 server. We need active directory PowerShell module for this. We can install it using RSAT tools. Once its ready run the command,
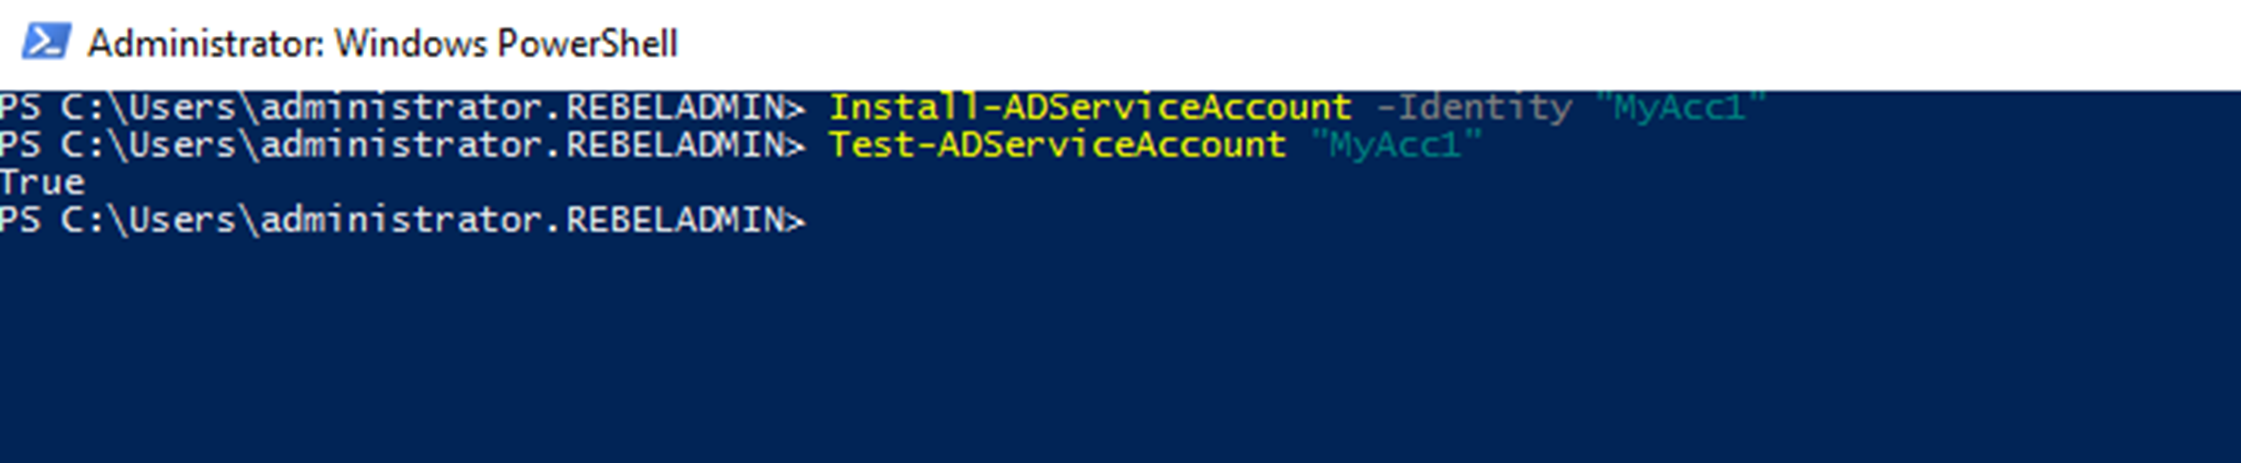
Install-ADServiceAccount -Identity "MyAcc1"
Once it’s done, we can test it using,
Test-ADServiceAccount "MyAcc1"
It is return the value True which means the test is successful.
Get-ADServiceAccount "MyAcc1"

