Azure Cloud App Security is a great service to gain visibility in to your cloud apps and its data. It helps to identify security threats and take relevant actions to mitigate those based on policies.
Using File Policies in cloud app security, we can scan and find sensitive information stored in cloud apps. Once these information are found we can associate different actions to it such as send alert, apply classification, change permissions etc.… . It also allows to move data found by a file policy in to a separated folder with limited access. This called as Admin Quarantine. When this is enabled under a policy,
• File will move to the admin quarantine folder
• system will delete original file
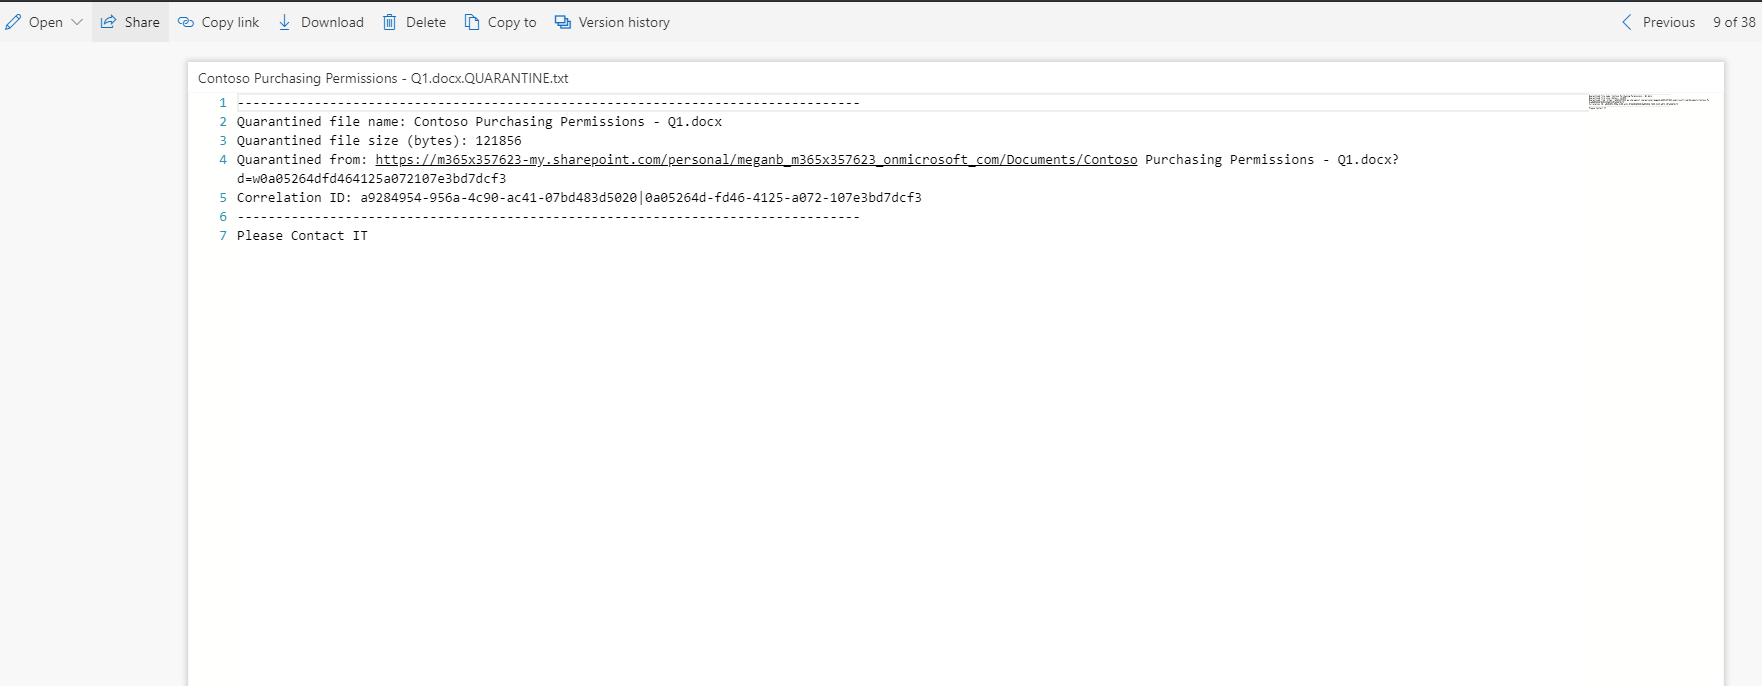
• System will place a tombstone file in original location. This file includes data which will help to releases the file.
Prerequisites
• In order to use cloud app security, we need E5 licenses. More details about licenses available here https://www.microsoft.com/en-gb/cloud-platform/enterprise-mobility-security-pricing
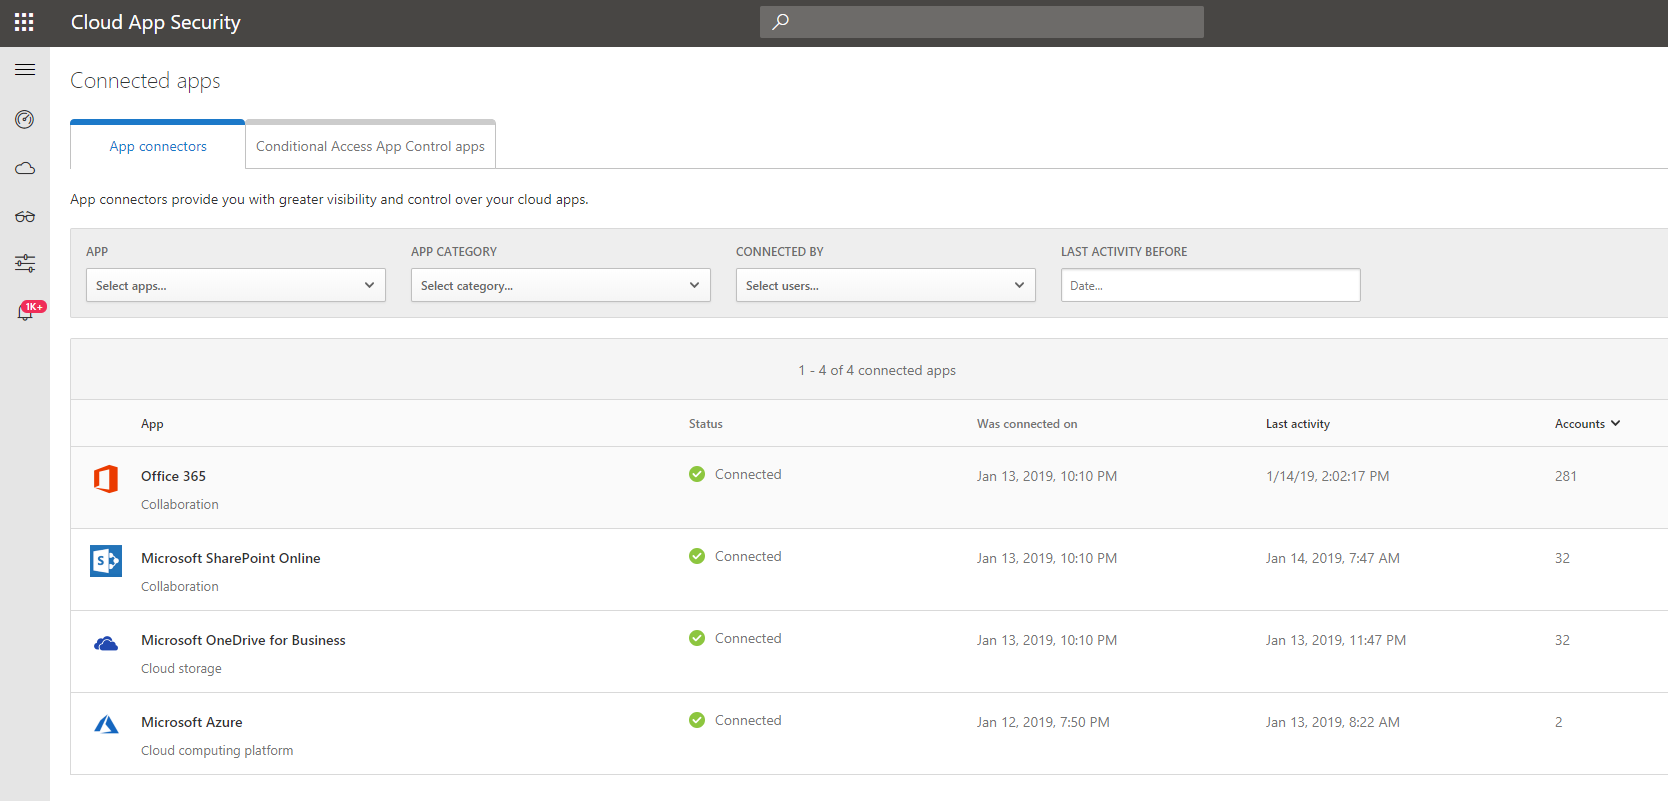
• Before start with polices, we need to get cloud apps connected. You can find more details under https://docs.microsoft.com/en-us/cloud-app-security/enable-instant-visibility-protection-and-governance-actions-for-your-apps . In this demo I am going to use Office 365 and I already got it configured as connected app.
In this demo I am going to setup file policy to recognize files with credit card details. If policy finds a matching file it will automatically move it to admin quarantine.
[su_note]Cloud app security also have a pre-built policy to detect files with credit card details. If you only looking for credit card details, I recommend to use that existing policy. purpose of this demo to show how to create custom file policy with admin quarantine. [/su_note]
To configure,
1) Log in to cloud app security portal on https://portal.cloudappsecurity.com as Global Administrator
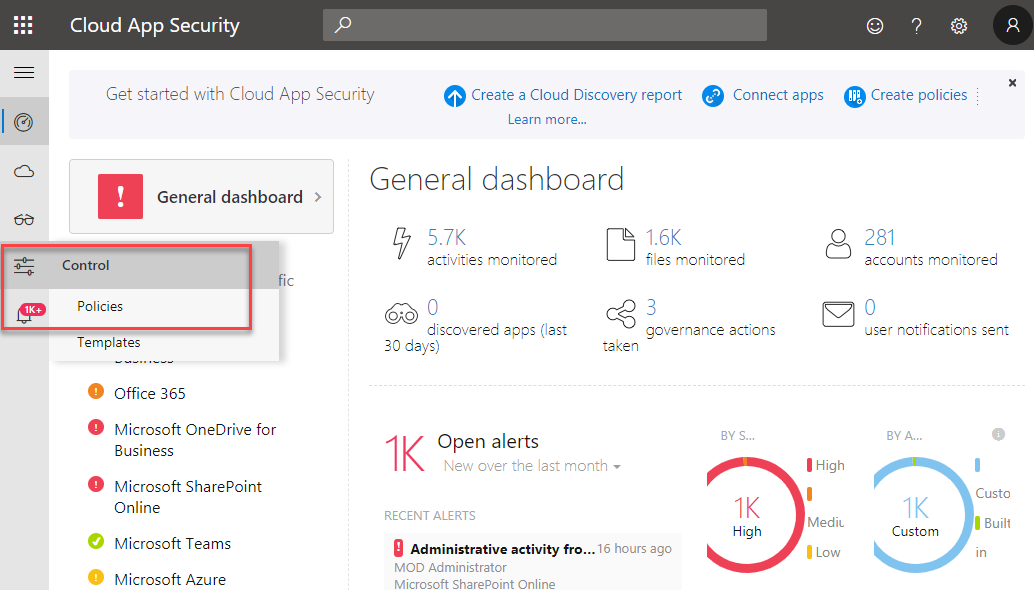
2) Then go to Control | Policies
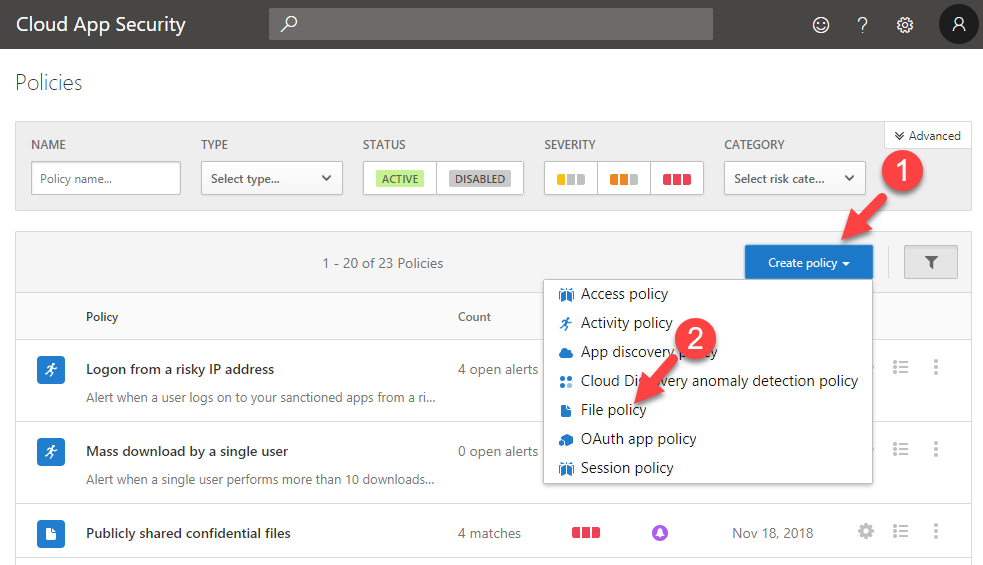
3) To create new policy, click on Create policy and from drop down list select File Policy
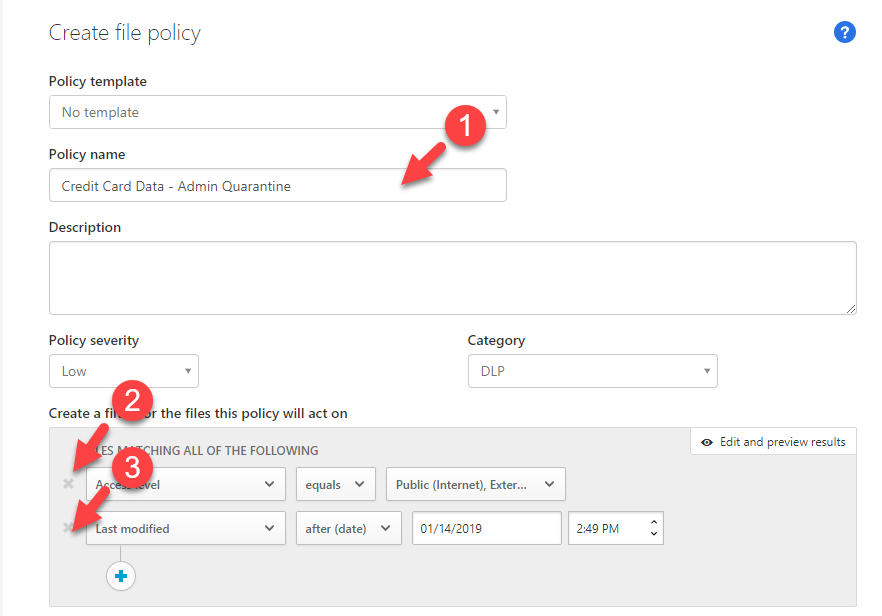
4) In new window, type name for the policy to start with. Then under filters remove the existing filters as we only going to use DLP
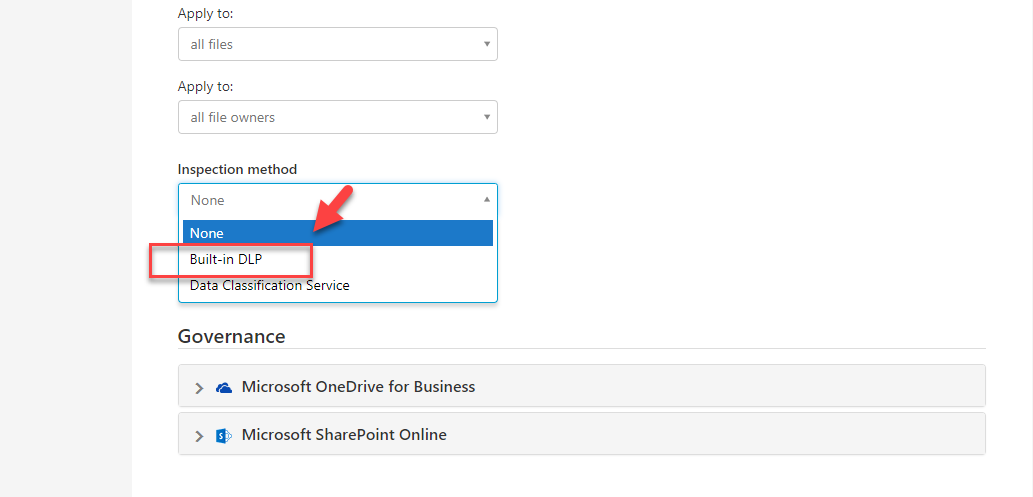
5) Then under inspection method, select Built-in DLP
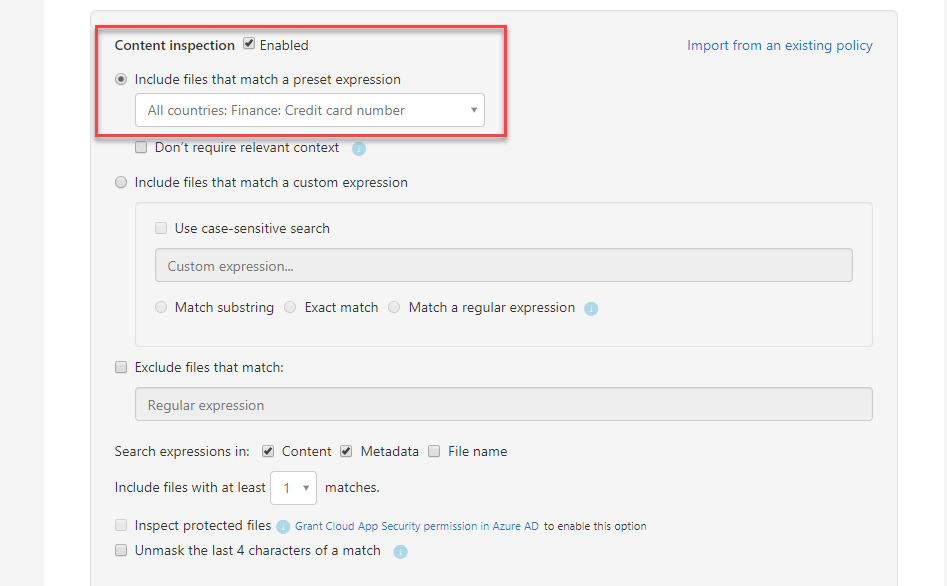
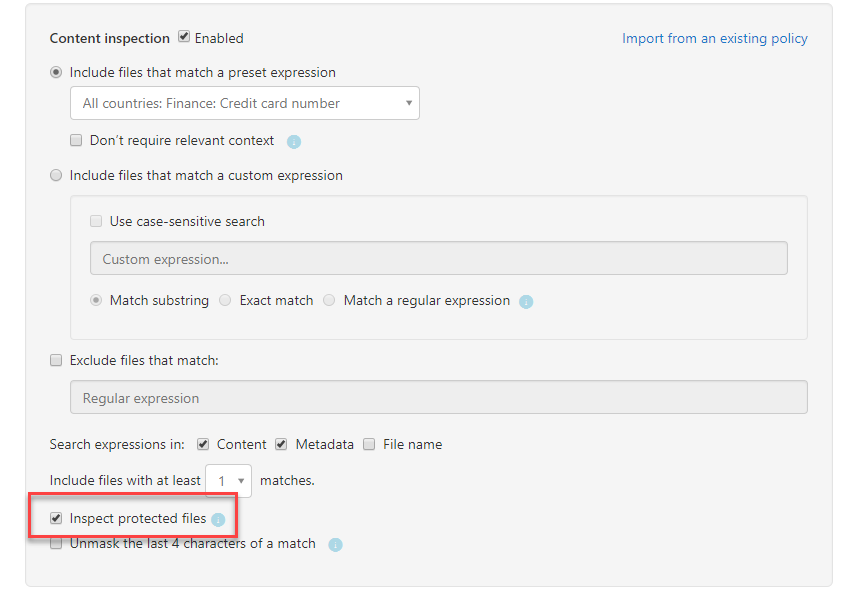
6) Under Include files that match a preset expression select pre-built expression All countries: Finance: Credit card number. There are many different pre-built expressions available under this option. If need we also can define any custom expressions to match the requirements.
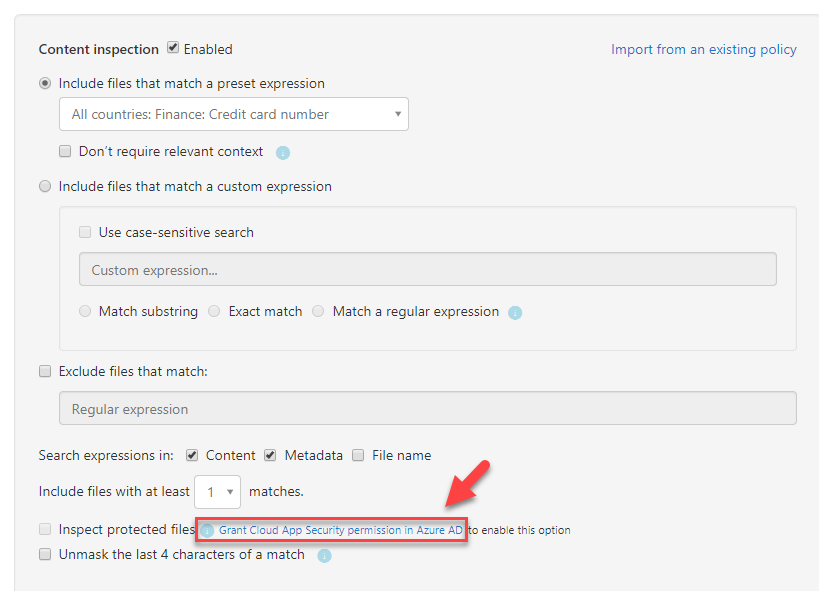
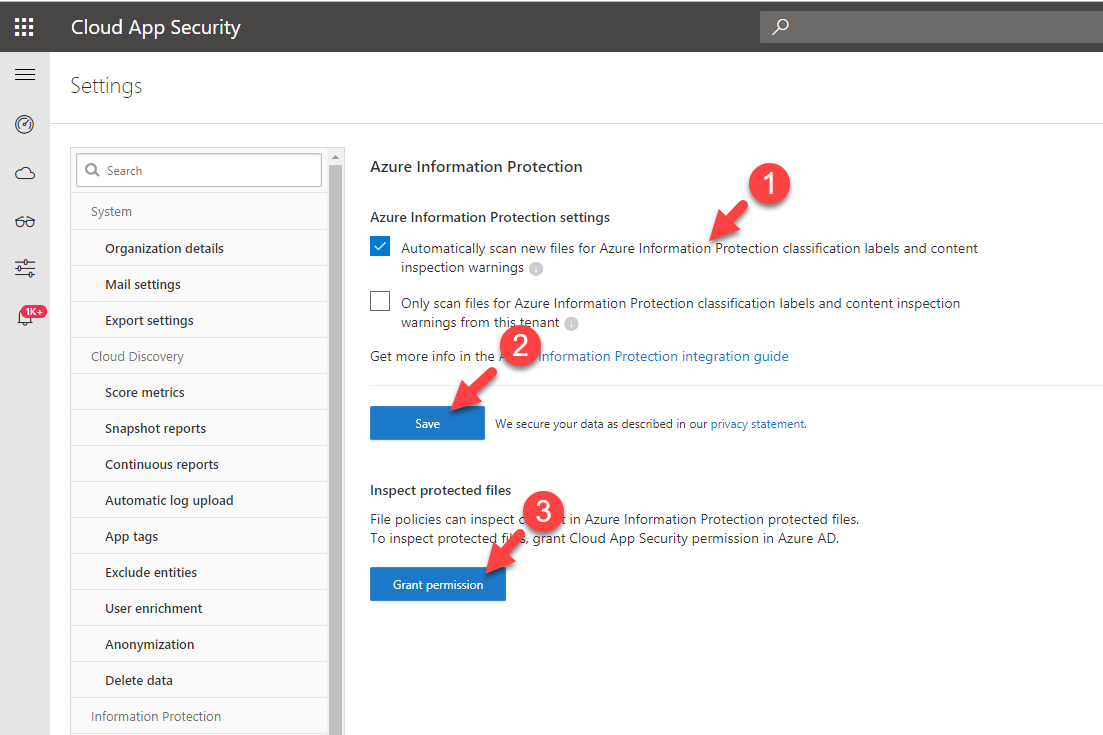
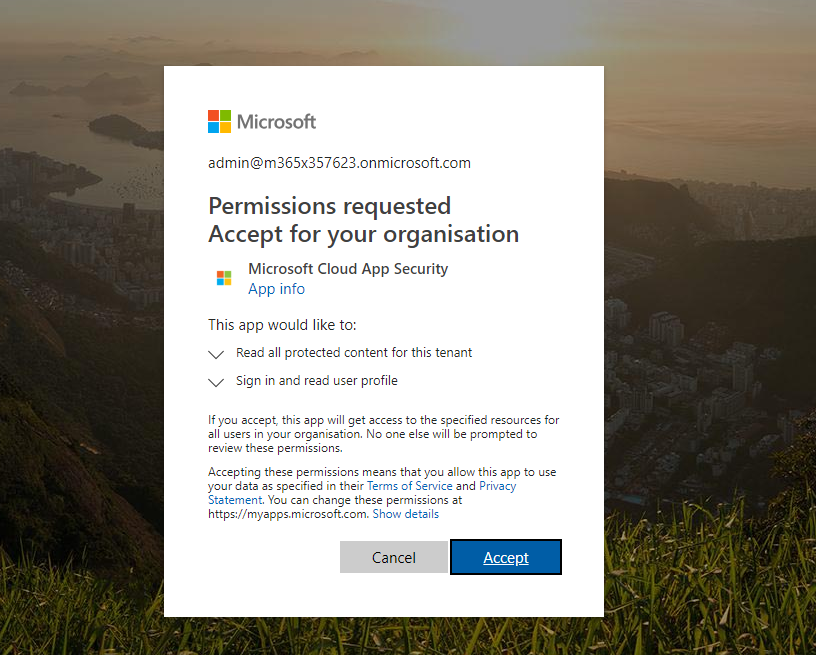
7) I also like to enable scan for Azure information protected files. To do that I need to grant permissions in Azure AD.
8) From the list select relevant settings you comfortable with and click on Save then Grant permissions. In next window, after authentication is completed click on Accept.
9) Then go back to policy window and select option Inspect protected files.
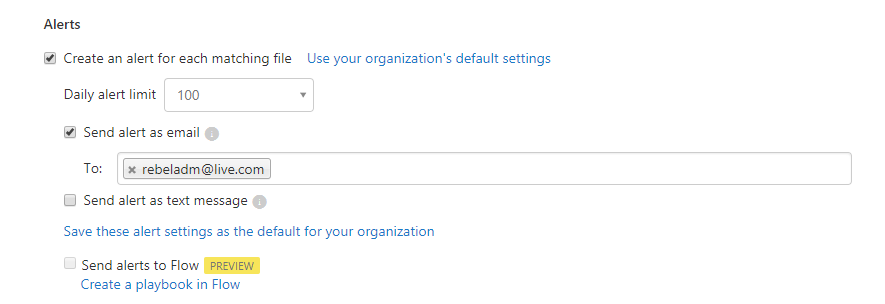
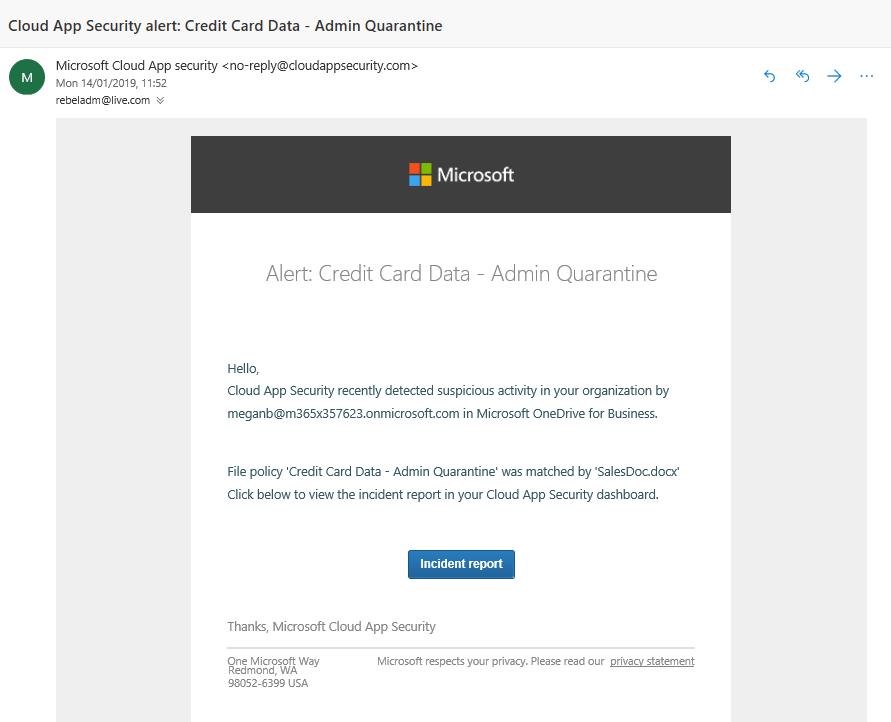
10) Under this policy I also like to receive an alert when it detects a file. To do that click on Alerts | Send alert as email and then type the email address.
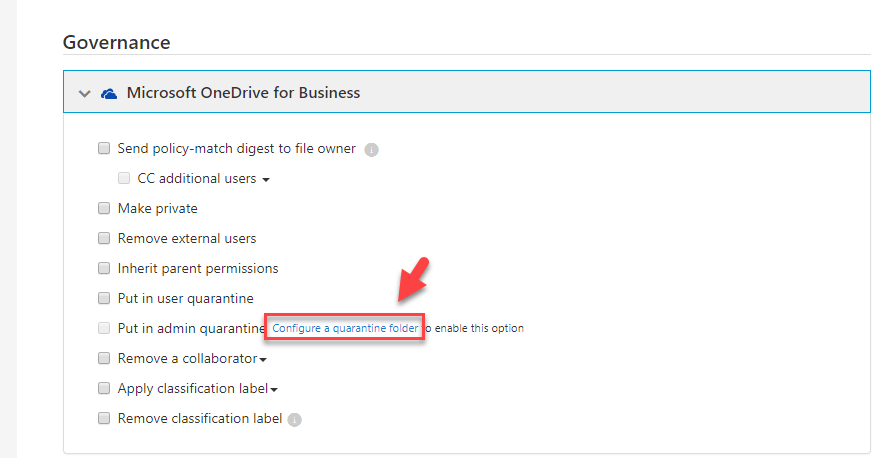
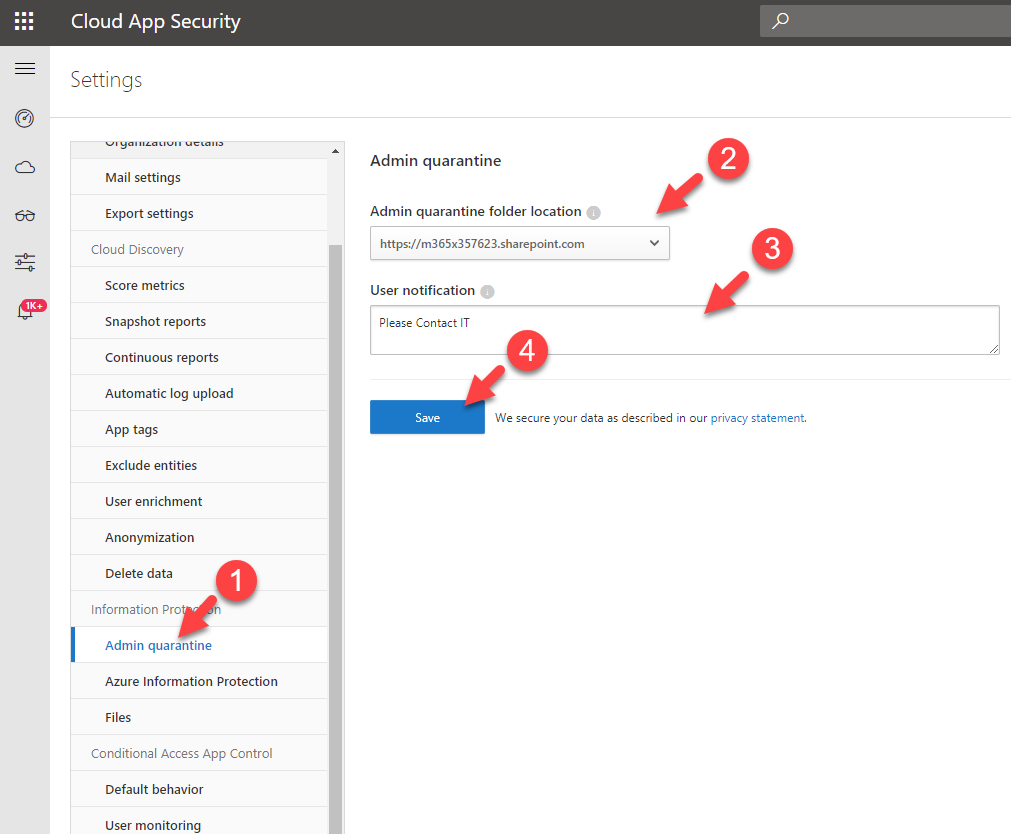
11) Then under Governance | Microsoft OneDrive for Business, click on Configure a quarantine folder link which is next to admin quarantine option. This will allow you to create the admin quarantine folder for first time.
12) In new page define Admin quarantine folder path and user notification and then click on Save.
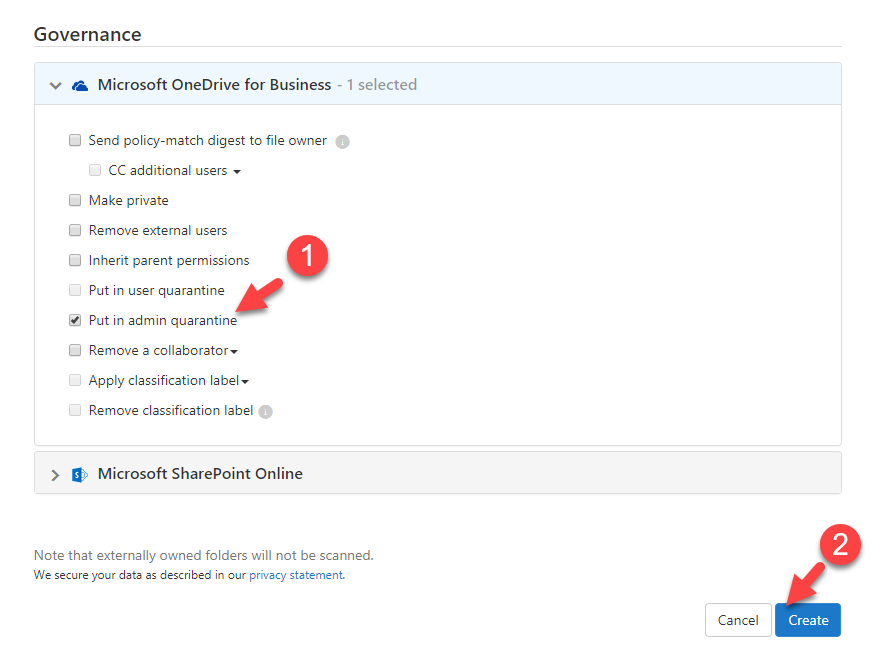
13) Then go back to policy and click on put in admin quarantine option and click on create button to finish the policy configuration.
After complete the configuration, I stated to get some alerts as expected.
when I go to user’s one drive, I can see the tombstone file instead of original file.
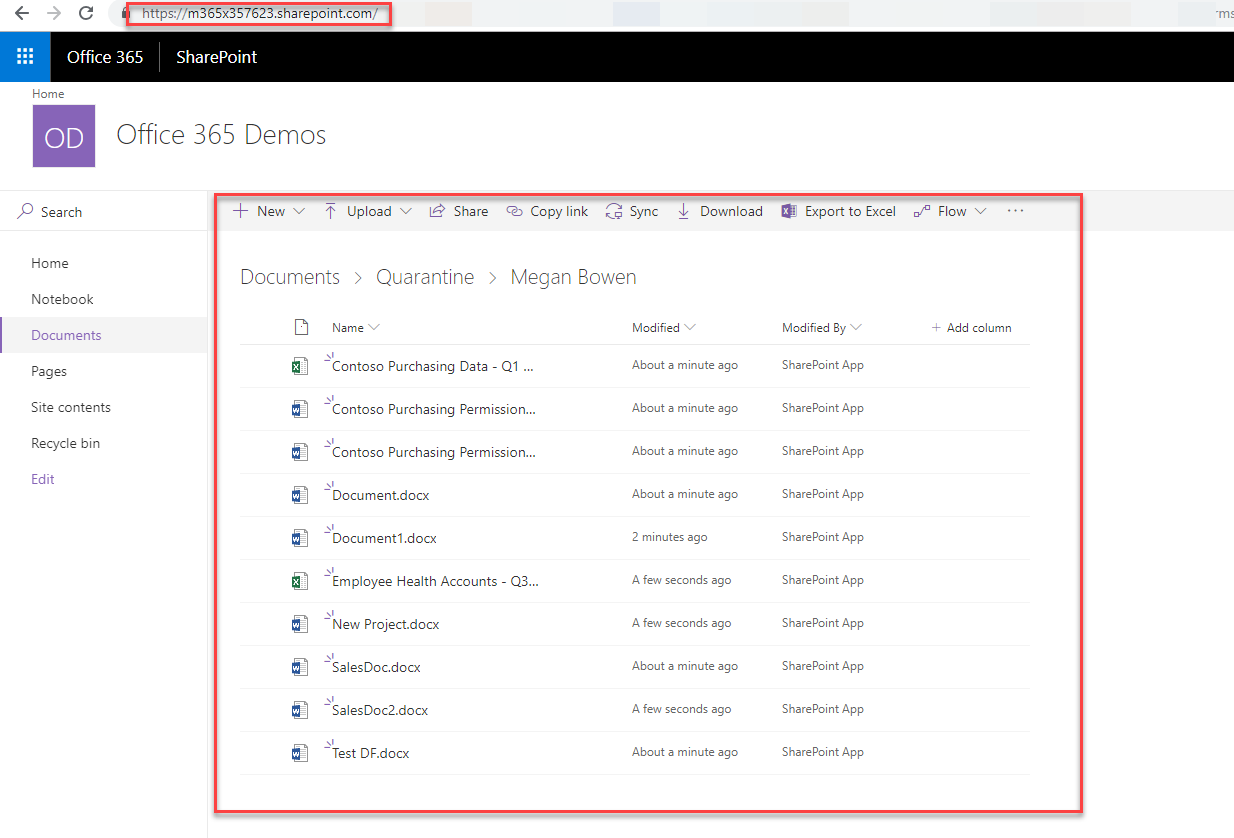
Next step is to check it under admin quarantine folder. As expected, we can see the original file under there.
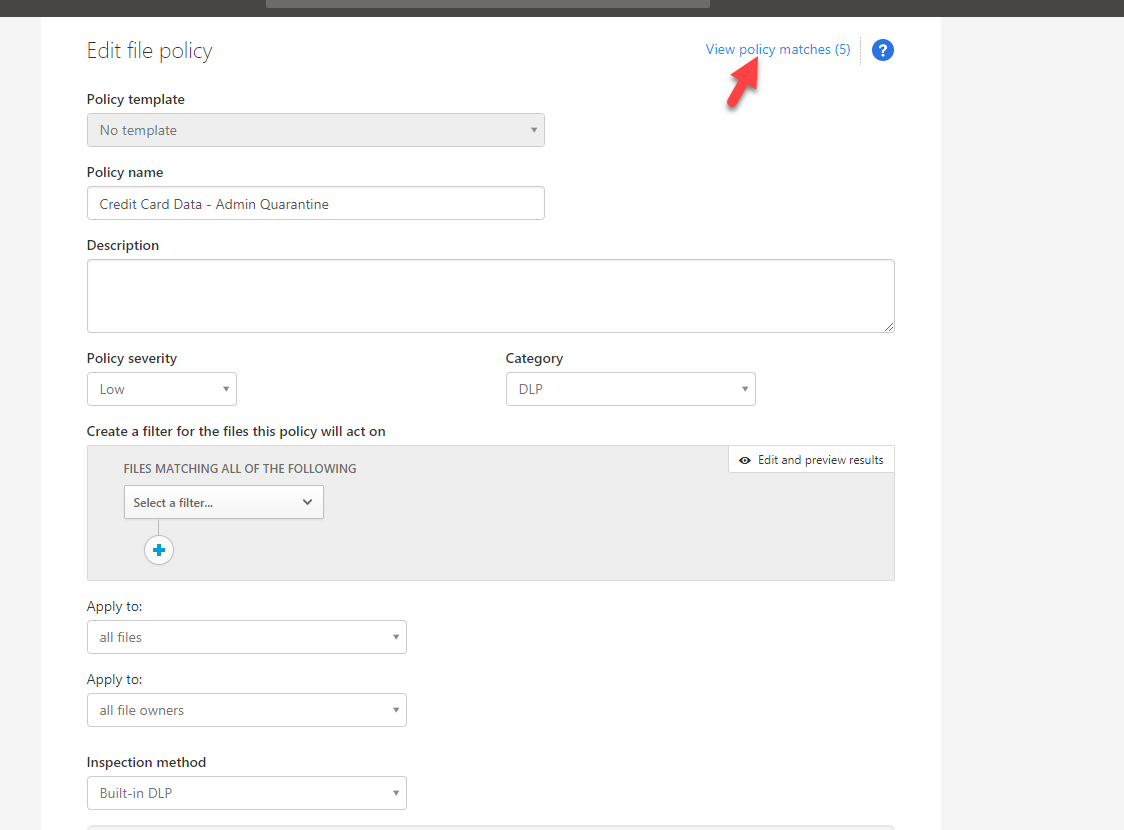
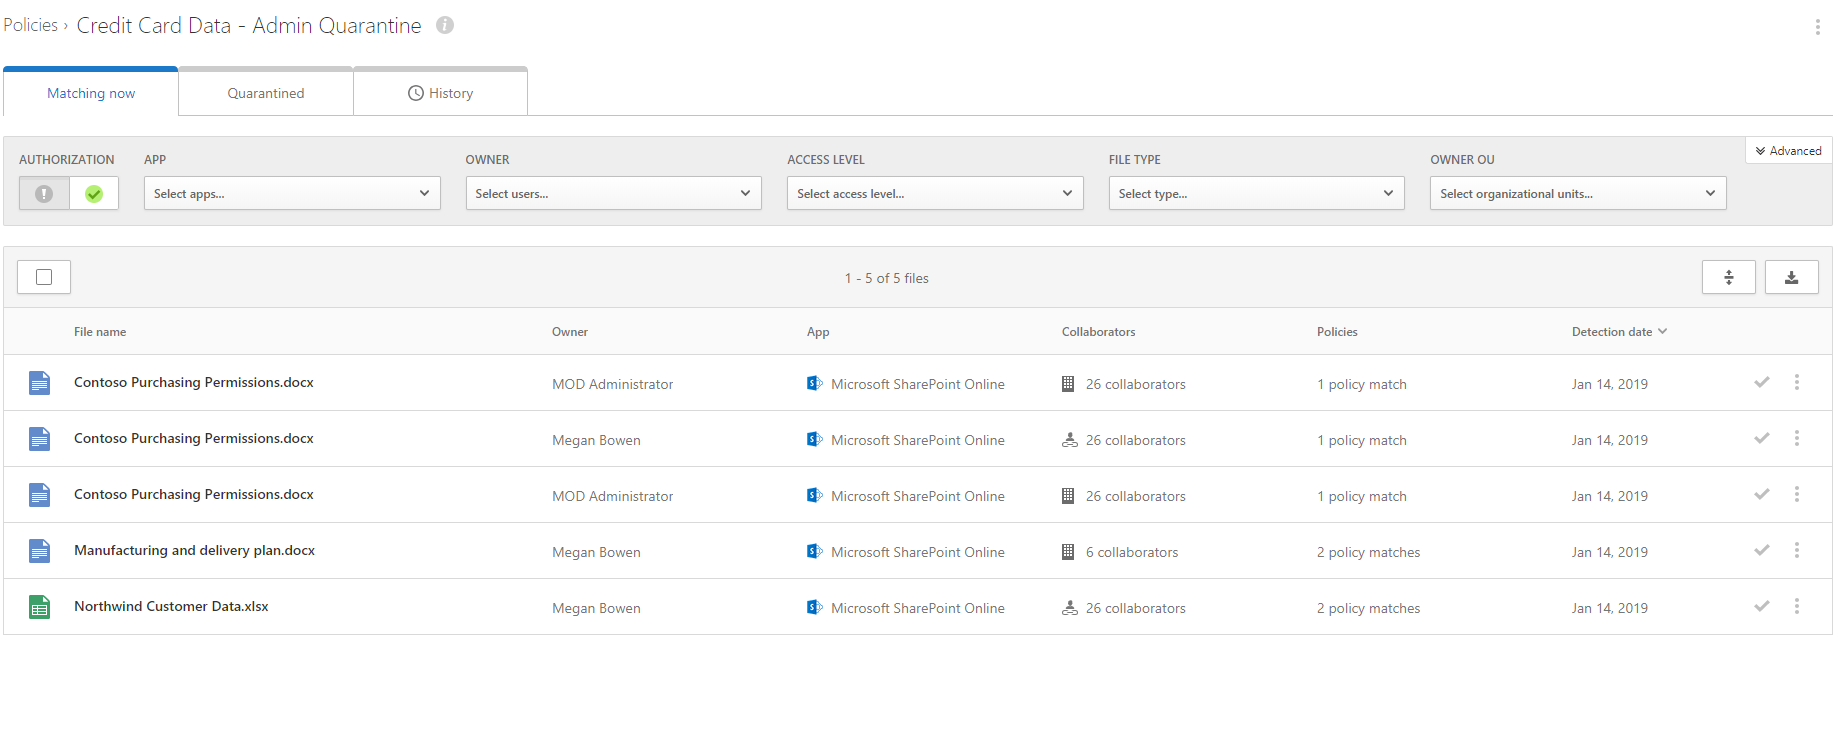
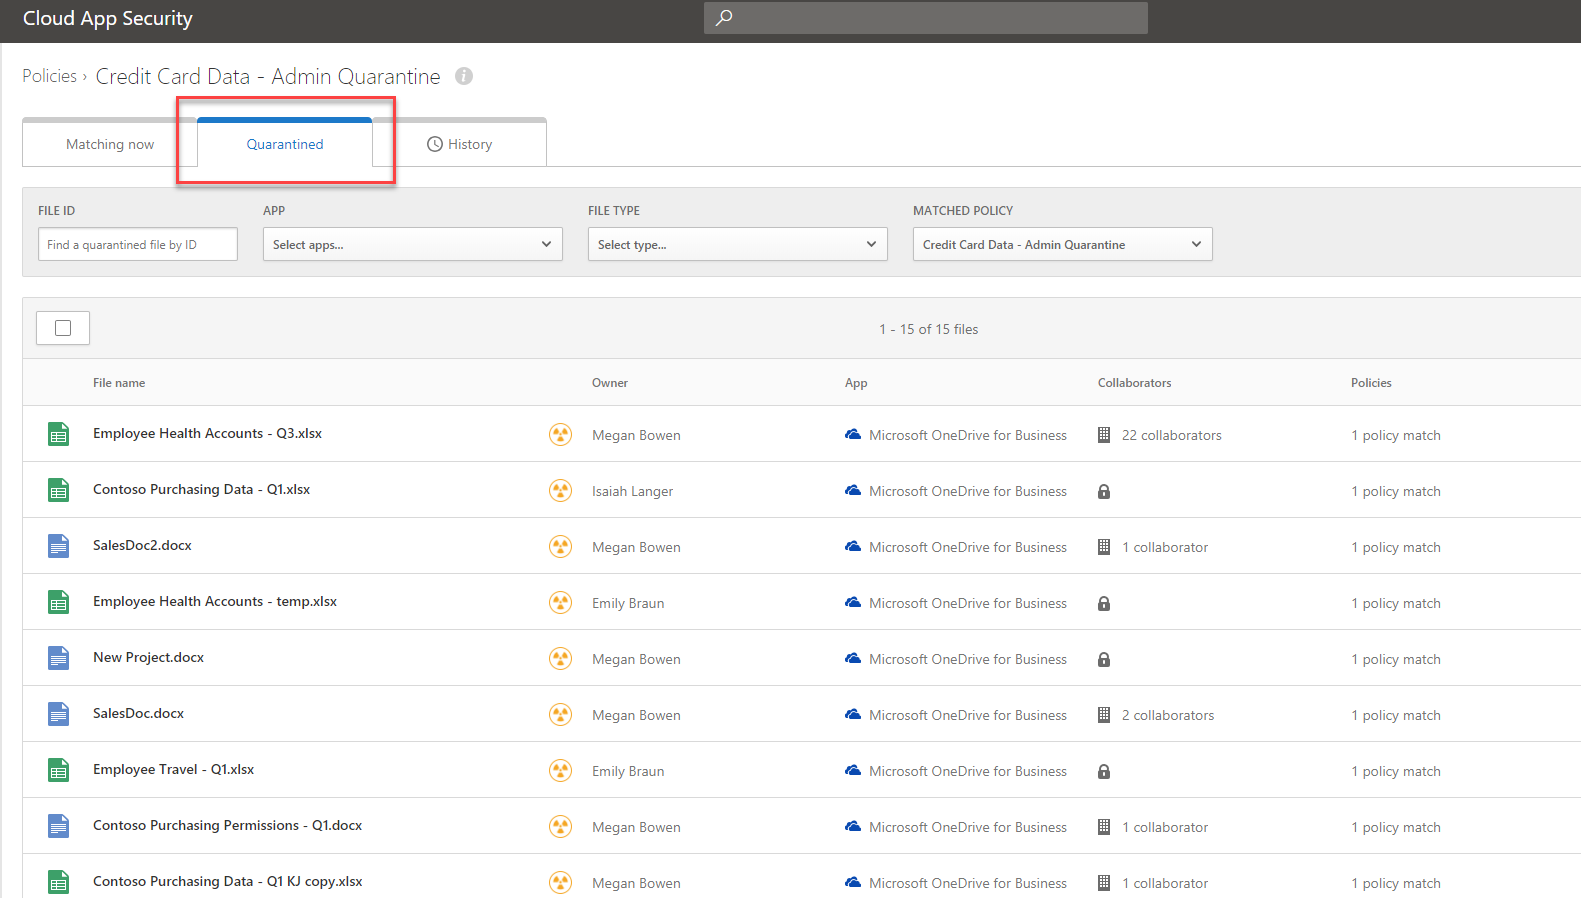
Also, If I go back to cloud app security portal and click on policy I can go and review the policy matches.
As we can see it is working as expected. If you have any further questions feel free to contact me on rebeladm@live.com also follow me on twitter @rebeladm to get updates about new blog posts.

