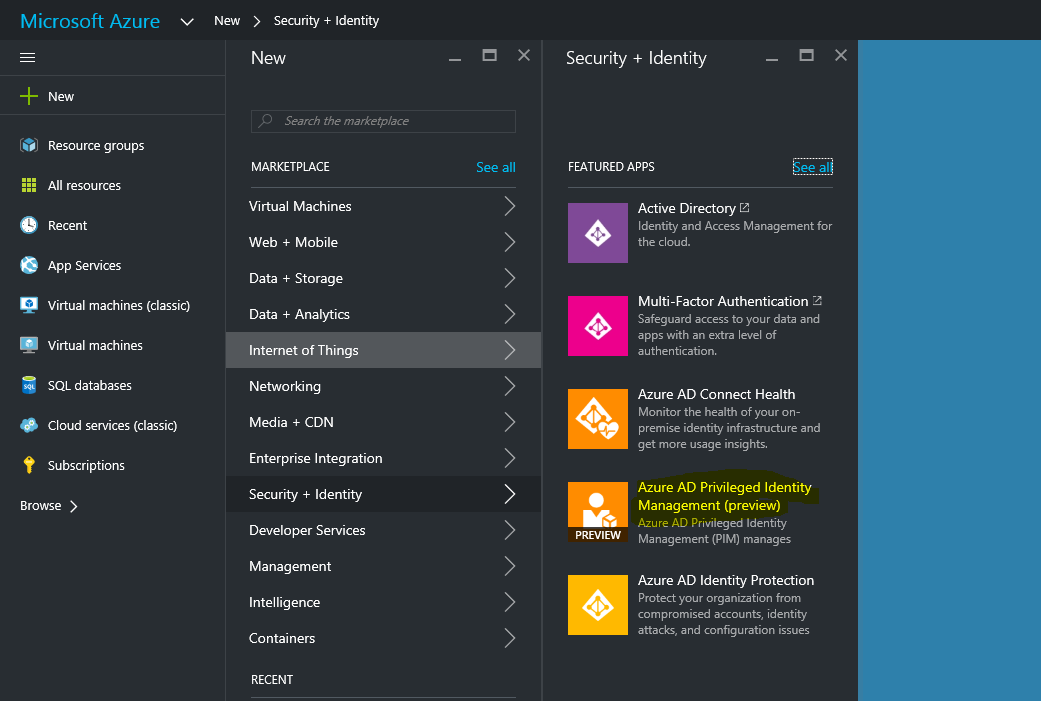
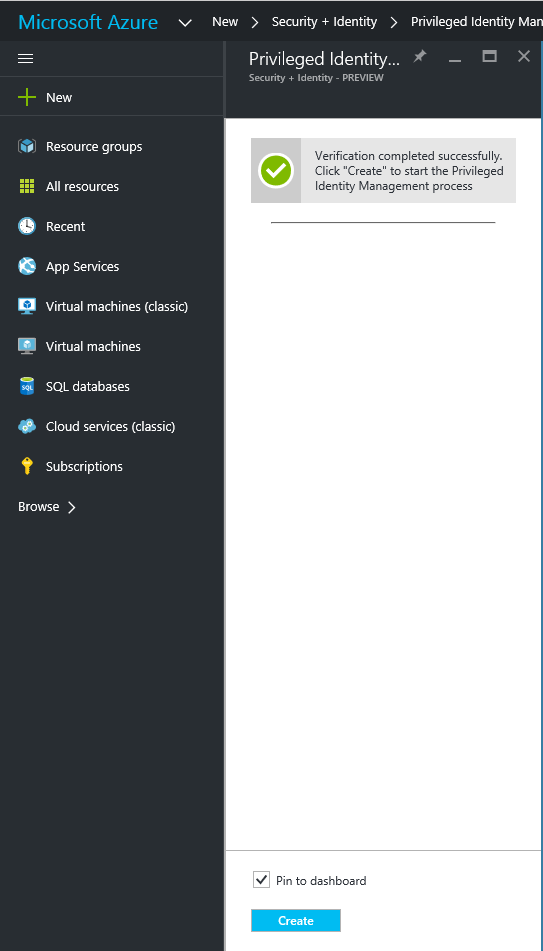
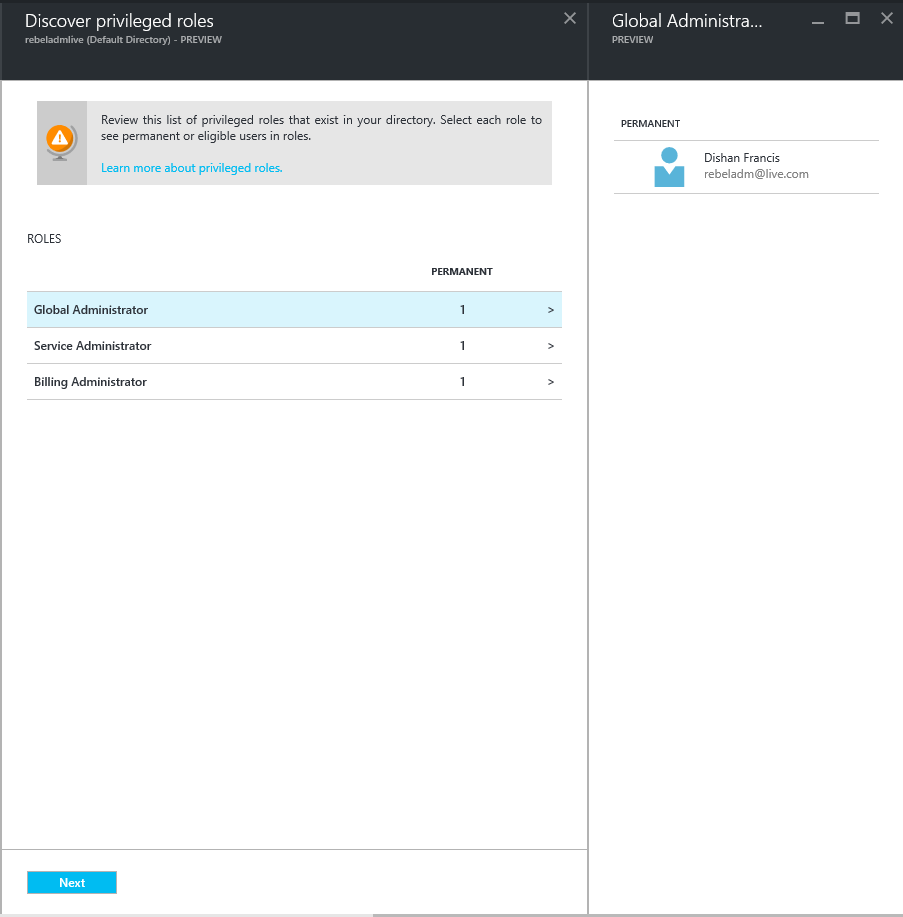
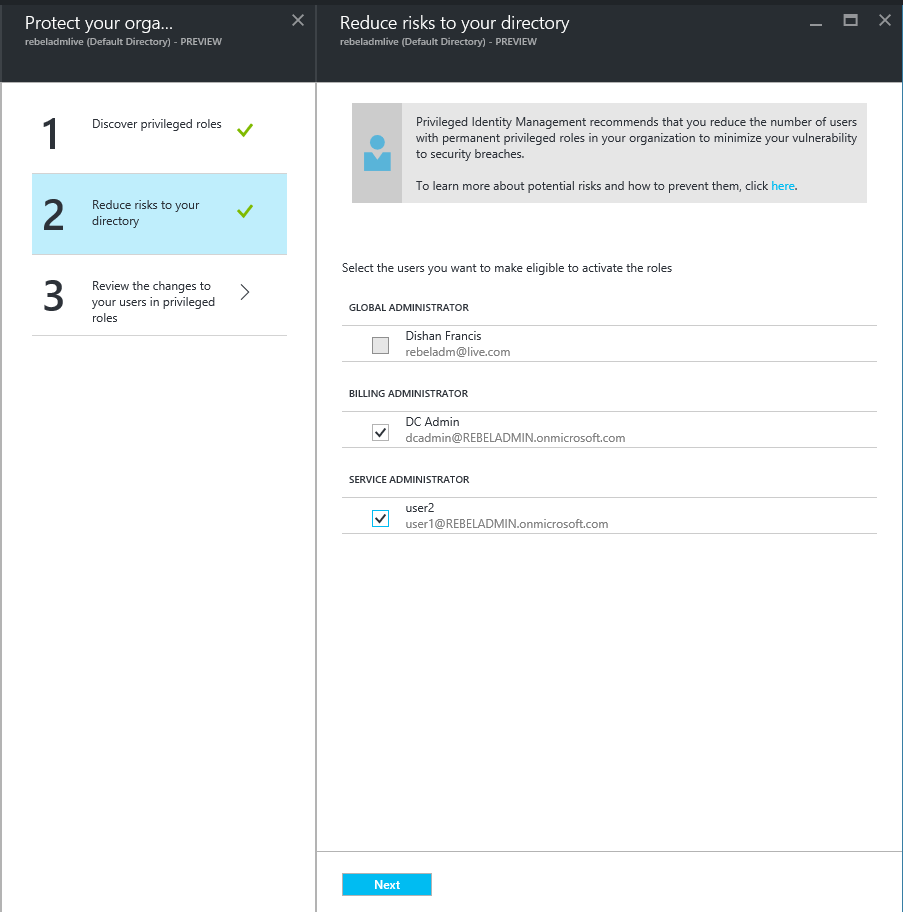
What is Azure AD privileged identity management ? Privileged Identity Management is boarder topic to discuss with. First thing first do not think it as another feature or product from Microsoft. The way I see it as a lot of methodologies, technologies came together and making a new process. I am saying it because with this concept we need to rethink about how current identities been managed in infrastructure. Administrators, users need to change the way they think about the permissions.
In any infrastructure we have different type of administrators. It can be domain administrators, local administrators, service administrators. If its hybrid setup it may have cloud administrators too. The question is do you have fully control over these accounts and its permissions? do you aware of their activities using these permissions? how do you know it’s not been compromised already? If I say solution is to revoke these administrator privileges yes it will work but problem is how much additional work to restore this permission when needed? and also how practical it is? it’s also have a social impact too, if you walk down to your users and say that I’m going to revoke your admin privileges what will be their response?
Privileged access management is not a new topic it’s been in industry for long but problem is still not lot considering about it. Microsoft step up and introduce new products, concepts to bring it forward again as this is definitely needed in current infrastructures to address modern threats towards identities. The good thing about this new tools and technologies, its more automated and the user accounts will have the required permissions whenever they needed. In your infrastructure this can achieve using Microsoft identity manager 2016 but need lot more work with new concepts which I will explain in future posts. Microsoft introduce same concept to the azure cloud as well. In this post we going to look in to this new feature.
Using Azure AD privileged identity management, we can manage, control and monitor the permissions to the azure resources such as azure AD, office 365, intune and SaaS applications. Identity management will help to do following,
• Identify the current azure AD administrators your azure subscriptions have
• Just-in-Time administration – This is something I really like. Now you can assign administration permissions on demand for period of time. For example, user A can be office 365 administrator for 11am to 12pm. Once the time limit reach system will revoke the administrator privileges automatically
• Reports to view the privileged accounts access history and changes in administrator assignments
• Alerts when access to privileged role
Azure AD privileged identity management can manage following organizational roles,
• Global Administrator – Has access to all administrative features. The person who signs up for the Azure account becomes a global administrator. Only global administrators can assign other administrator roles. There can be more than one global administrator at your company.
• Billing Administrator – Makes purchases, manages subscriptions, manages support tickets, and monitors service health.
• Service Administrator – Manages service requests and monitors service health.
• User Administrator – Resets passwords, monitors service health, and manages user accounts, user groups, and service requests. Some limitations apply to the permissions of a user management administrator. For example, they cannot delete a global administrator or create other administrators. Also, they cannot reset passwords for billing, global, and service administrators.
• Password Administrator – Resets passwords, manages service requests, and monitors service health. Password administrators can reset passwords only for users and other password administrators.


